DIY Plywood Storage Cabinets
Hey DIY friends! ✨ If you’ve ever struggled with clutter in your workspace, you know how much organization can impact creativity and mental clarity. My studio was in desperate need of storage, so I decided to build custom plywood cabinets that perfectly fit my needs. This project was part creativity, part necessity, and 100% about making my space (and my mind) feel more in order.


Shop this Episode


Specialty Tools Used:
Tools & Jigs
✔ Plunge Saw with Track – Perfect for precision plywood cuts. (e.g., Festool TS 55 or Makita SP6000J)
✔ Kreg Rip-Cut Jig – A budget-friendly way to get straight cuts with a circular saw.
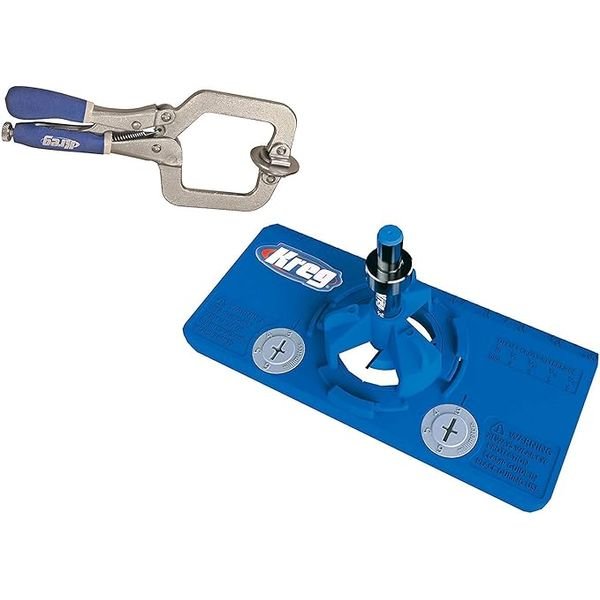
✔ Kreg Pocket Hole Jig – The go-to tool for strong, hidden joinery.
✔ Right Angle Drill Attachment – A lifesaver for pocket hole screws in tight spots.
✔ Cabinet Hardware Jig – Ensures perfect handle and pull placement every time.
✔ Shelf Pin Jig – Great for drilling evenly spaced shelf holes.
✔ Kreg Concealed Hinge Jig – Makes installing cabinet doors easy and precise.
✔ Jigsaw – Used for cutting toe kicks and custom shapes.
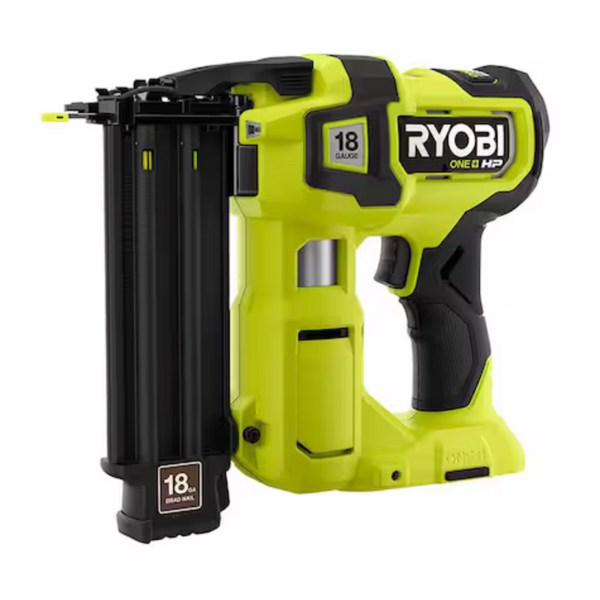
✔ Brad Nailer – For quick and easy cabinet back and divider installation.
Hardware & Fasteners
✔ 22” Full-Extension Drawer Slides – The best option for smooth, long-lasting drawers.
✔ 1 ¼” Pocket Hole Screws – Perfect for assembling cabinet boxes.
✔ 1 ¼” Brad Nails – Used for attaching dividers and back panels.
✔ L-Brackets & Spacers – Helps with drawer front alignment and installation.
Plywood & Materials
✔ ¾” Plywood – Used for cabinet carcasses and drawer fronts.
✔ ½” Plywood – Used for drawer bottoms.
✔ ¼” MDF – Used for cabinet backing.
✔ Wood Glue – Strengthens joints in addition to screws.
✔ Sandpaper (120 & 220 Grit) – For smoothing edges before finishing
Design & Planning
The first step to making your cabinets a successful storage solution is assessing your storage needs and sketching out a design. For myself, I knew I wanted to store my stain glass supplies, my hand-tools, and other studio doodads and bobbits I leave around.

Plan cabinet sections based on what you’ll store:
One section with 5 long drawers (31” H x 26” W x 18” D).
Two sections with 5 shorter drawers each (31” H x 16” W x 18” D).
One cubby area for stained glass storage (36” H x 12” W x 18” D).
One cabinet with two doors with an adjustable shelf (36” H x 25.5” W x 18” D).
Measure your space carefully to ensure a perfect fit.
Cutting the Plywood

I used ¾” plywood for the cabinet unit and ½” plywood for drawer bottoms.
Cut each cabinet’s two sides, a base, and four horizontal supports
For the stained glass cabinet, cut an extra top, a back panel, and divider inserts.
*be sure you are using your custom measurements!

A plunge saw with a track makes this easy, but a circular saw with a rip-cut jig works great too.
DIY Confidence Boost: If you’re working solo, hauling large plywood sheets is tough but totally doable. Take your time!
Assembling the Cabinets
Drill ¾” pocket holes into horizontal supports and cabinet bottoms.
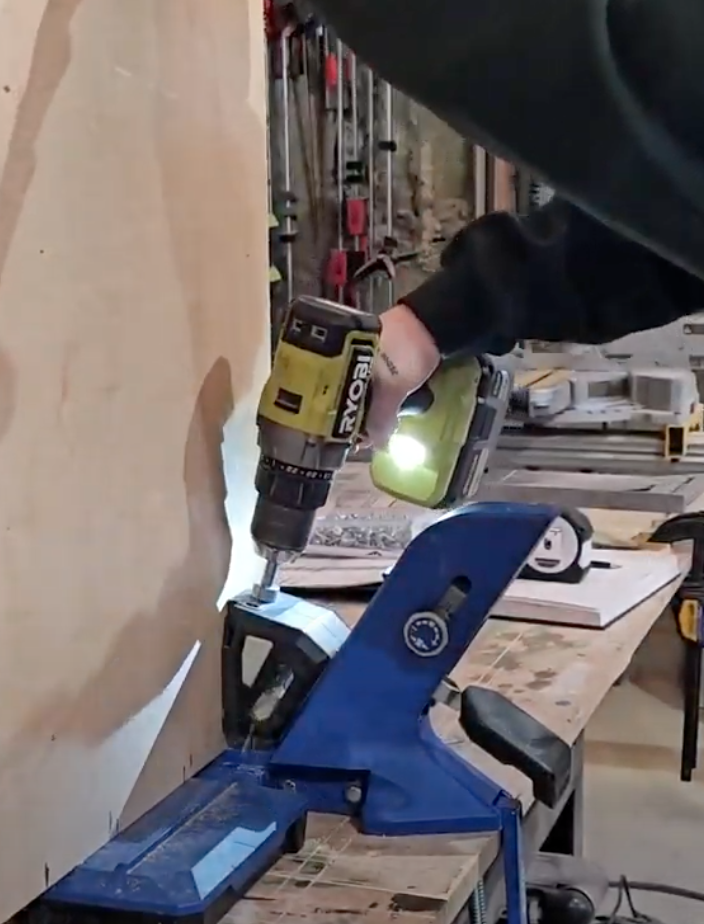


Attach using 1 ¼” pocket hole screws for a sturdy build.
Cut and attach a toe kick at the base using a jigsaw.
For Dividers: Secure them with 1 ¼” brad nails for a snug, seamless fit.
Building & Installing Drawers


Cut drawer sides, fronts and backs, and bottoms (½” plywood).
Assemble drawers with ¾” pocket holes and attach the bottoms with 1 ¼” screws.
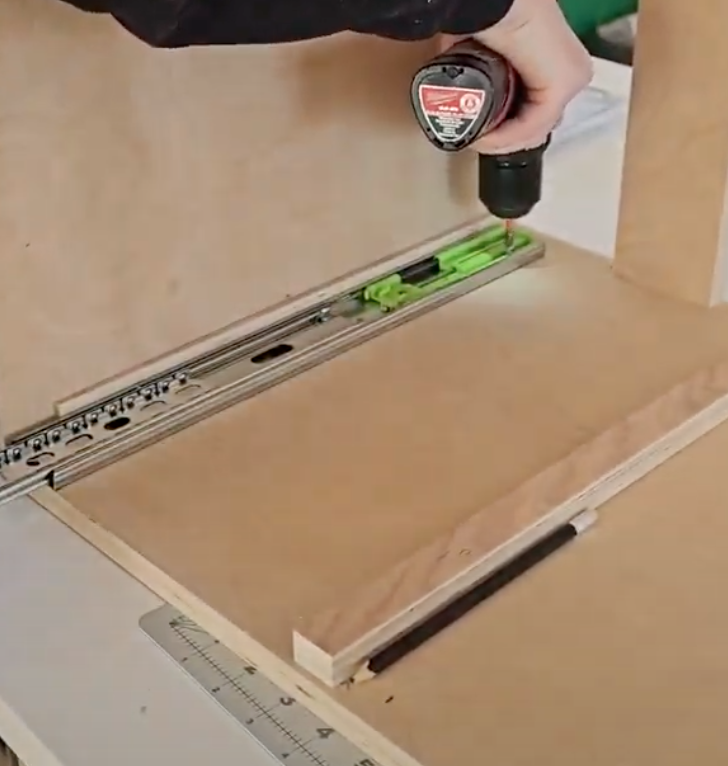

Install drawer slides using ¼” spacers to ensure even placement.
Troubleshooting: If drawers are too small (like mine were!), use ⅛” spacers inside the cabinet to fix the issue.
Installing Doors & Hardware


Drill hinge holes using a cabinet hardware jig at 3” from the top and bottom for precision.
If adding adjustable shelves, use a shelf pin jig and drill holes every 1 ½” apart.
Add hinges


For a seamless look, cut one large plywood panel for drawer fronts and slice into 5 equal pieces, keeping the grain pattern intact.

After a lot of sawdust, coffee, and a few moments of DIY-induced exhaustion, my custom cabinet system was DONE. ✨ Going from cheap plastic organizers to a handcrafted storage solution felt incredible—not just for my space, but for my mental clarity too.
This project was a reminder that DIY isn’t just about building furniture—it’s about building a space that works for YOU. Whether you’re a pro or a beginner, if I can do this, you can too!


