DIY Plywood Storage Cabinet: Creative Details & Organization Tips!
You’re a STAR darling! My cabinet saga is nearly over; I’m taking the cabinets I built in this episode, and decorating the unit into a stunning but functional organizer, complete with some DIY magic. From custom cabinet tops to stenciled stars and organization hacks, let’s dive into the creative chaos.


Shop This Episode


Specialty Tools and Supplies
Tools:
Supplies:
¾” plywood
¼” MDF strips
Wood filler
Matte protective finish
Stencil vinyl
Step 1: Creating a Custom Cabinet Top
A durable and stylish DIY cabinet top is key to any functional workspace.


Measure and Cut: Cut two plywood sheets to match the dimensions of your desired cabinet. I like to add a small 3/4” lip that hangs over the side and front.
Secure Layers: Glue and screw the two sheets together from the bottom to create a sturdy 1.5” thick top—perfect for high-use surfaces.
Attach MDF Trim: To avoid a plywood edge, apply MDF strips to the front and sides with a brad nailer to achieve a seamless, high-end look.


4. Fill & Sand: Use wood filler to fill in and smooth out imperfections and sand thoroughly for a flawless finish.
5. Paint: Apply your colour choice! I used Dixie Belle’s: Drop Cloth for a neutral finish to make my decals pop.
DIY Tip: Add a recessed power plug on your table top. Power access is a game changer for any workspace!

Step 2: Adding Custom Cricut Stencils & Starry Magic
I was super inspired by the celestial theme I have going on in my studio. I have moons and stars everywhere - so this cabinet needed to be just as “out of this world” as the rest of the studio! So I decided to make custom star stencils with my cricut. I’ve made stencils like this before to decorate my window sills - you can check out the video here. Custom furniture stencilling is such an easy way to pack personality into any piece - I love doing it!
Create the Stencil: Use a Cricut machine or purchase a pre-made stencil to design your custom pattern. I use removable vinyl so it’s easy to remove and sticks well to any suface.
Position & Secure: Place the stencil on the cabinet top to your desired spot!
Base Coat to Prevent Bleeding: Apply a light coat of Drop Cloth over the stencil before adding the final color—this ensures crisp, professional results.


4. Apply the Design: Use a foam or stipple brush to apply your paint choice. I used Dixie Belle’s Caviar for a bold contrast.
5. Peel & Reveal: I like to wait for the sweet spot between not fully wet but not yet dried. This will avoid the paint from bleeding but also from chipping if it fully dries and gets stuck to the stencil.
6. Dry & Seal: Let the paint dry completely before sealing with a protective finish for long-lasting durability.
DIY Tip: Stenciling is a cost-effective way to achieve a high-end, boutique look without breaking the bank! You can also make stickers on the cricut machine and apply those for a quicker process!

Step 3: DIY Design Accents
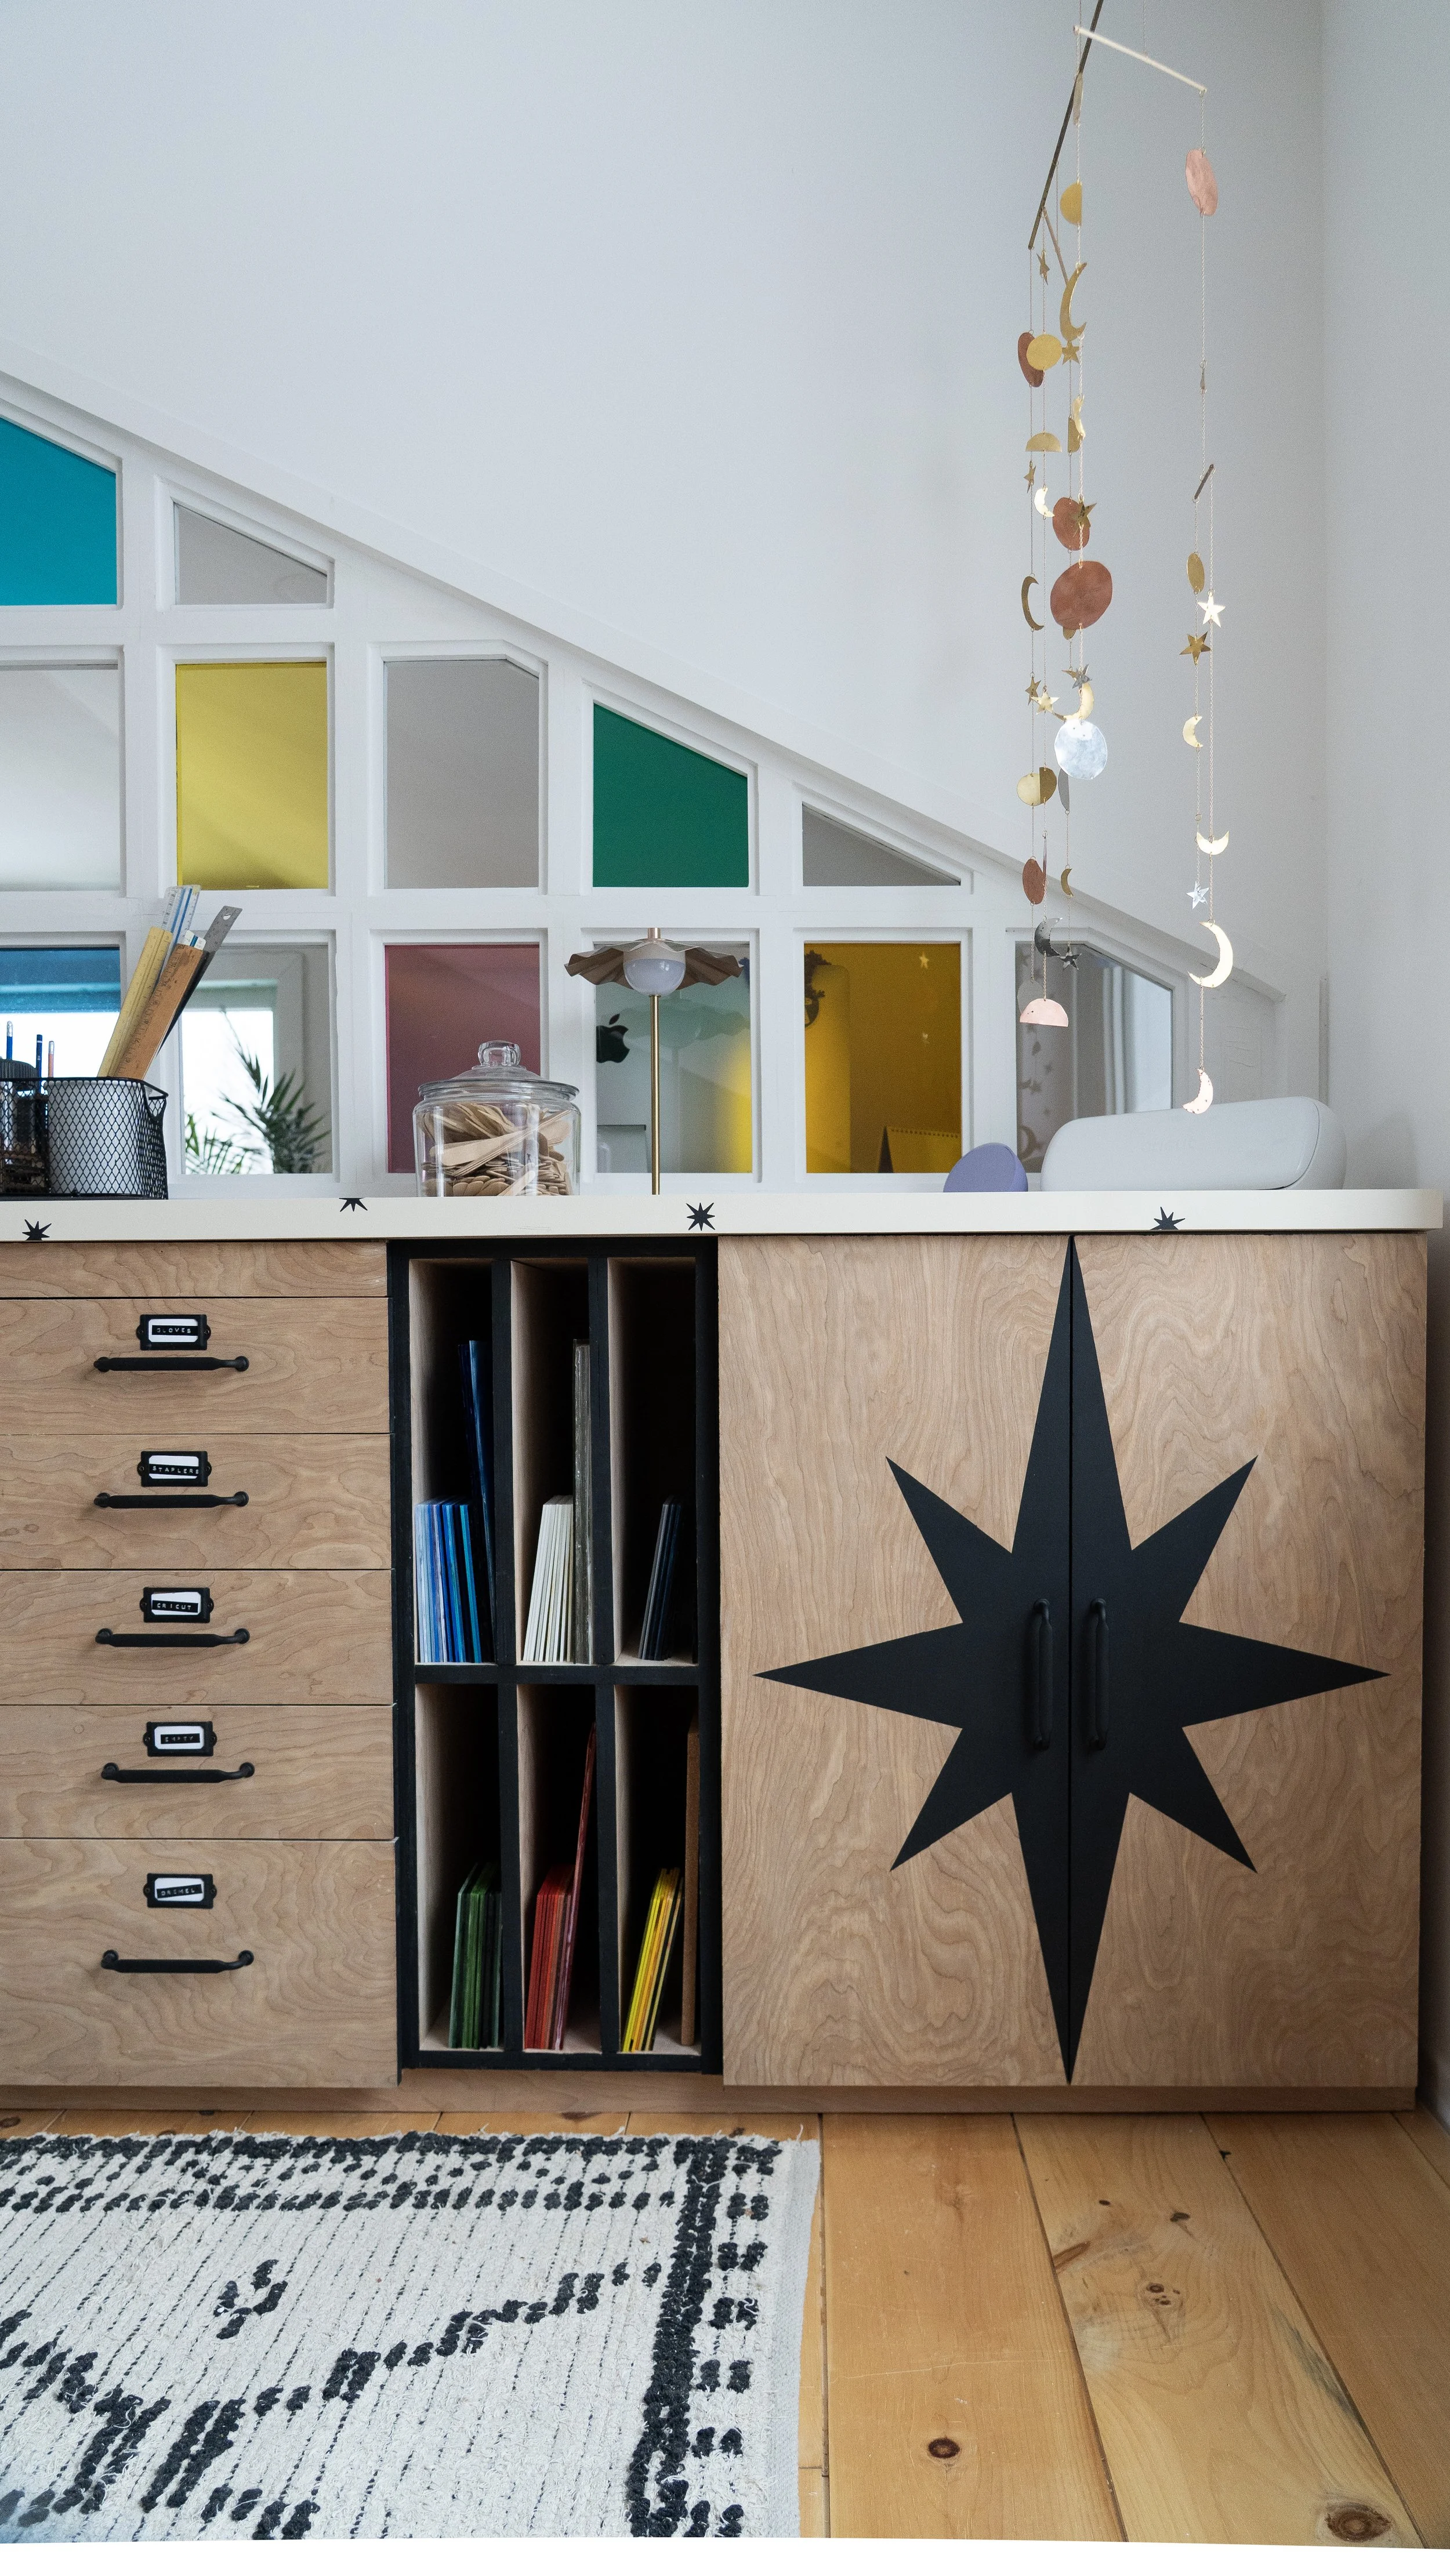
I wanted this cabinet to have some elements of personality. The top was the star of the show but I knew I could bring these elements into the base as well! To do this, I painted the exposed plywood edges in the same caviar black, then stenciled the same star detail on the two cabinet doors.


Step 4: Installing Hardware & Organizing Drawers
Functional organization is key to maximizing productivity. Let’s turn this cabinet into the star of all storage pieces!
Install Hardware: Attach matte black pulls for a modern, elevated look. I used a hardware jig to make the process easier.
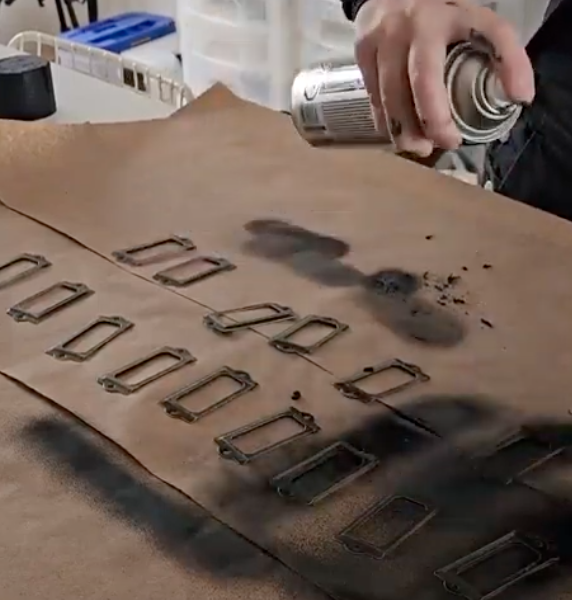
Add Label Holders: Secure label holders to drawers for easy, at-a-glance organization. I also spray painted mine to match the look!
Make labels: you can do this on any label maker, or hand-write them!
Add function: I always lose my tape, so I added tape holders to the side of the cabinet too


How I Organized My Cabinet:
Organizing drawers is very personal, so make sure to choose a system that works for your own brain and daily life! I used bamboo dividers in my largest drawers to separate items, keeping tools and supplies neat. And I dedicated drawers for all the tools I use most often.
DIY Tip: Organizing by category makes finding things effortless—say goodbye to cluttered, “mystery” drawers!
With smart storage solutions, bold design choices, and a little DIY magic, you can transform any piece into a stunning, functional masterpiece.
Let me know in the comments how you would customize your dream storage cabinet, and don’t forget to follow along for more home DIY inspiration and furniture flips!