*SIMPLE* DIY Ceiling Bowl Light

Check out this super simple ceiling light fixture I diyed for my bedroom! I love when light fixtures make statements but with low ceilings like mine… I had to come up with something innovative, budget-friendly + beautiful!
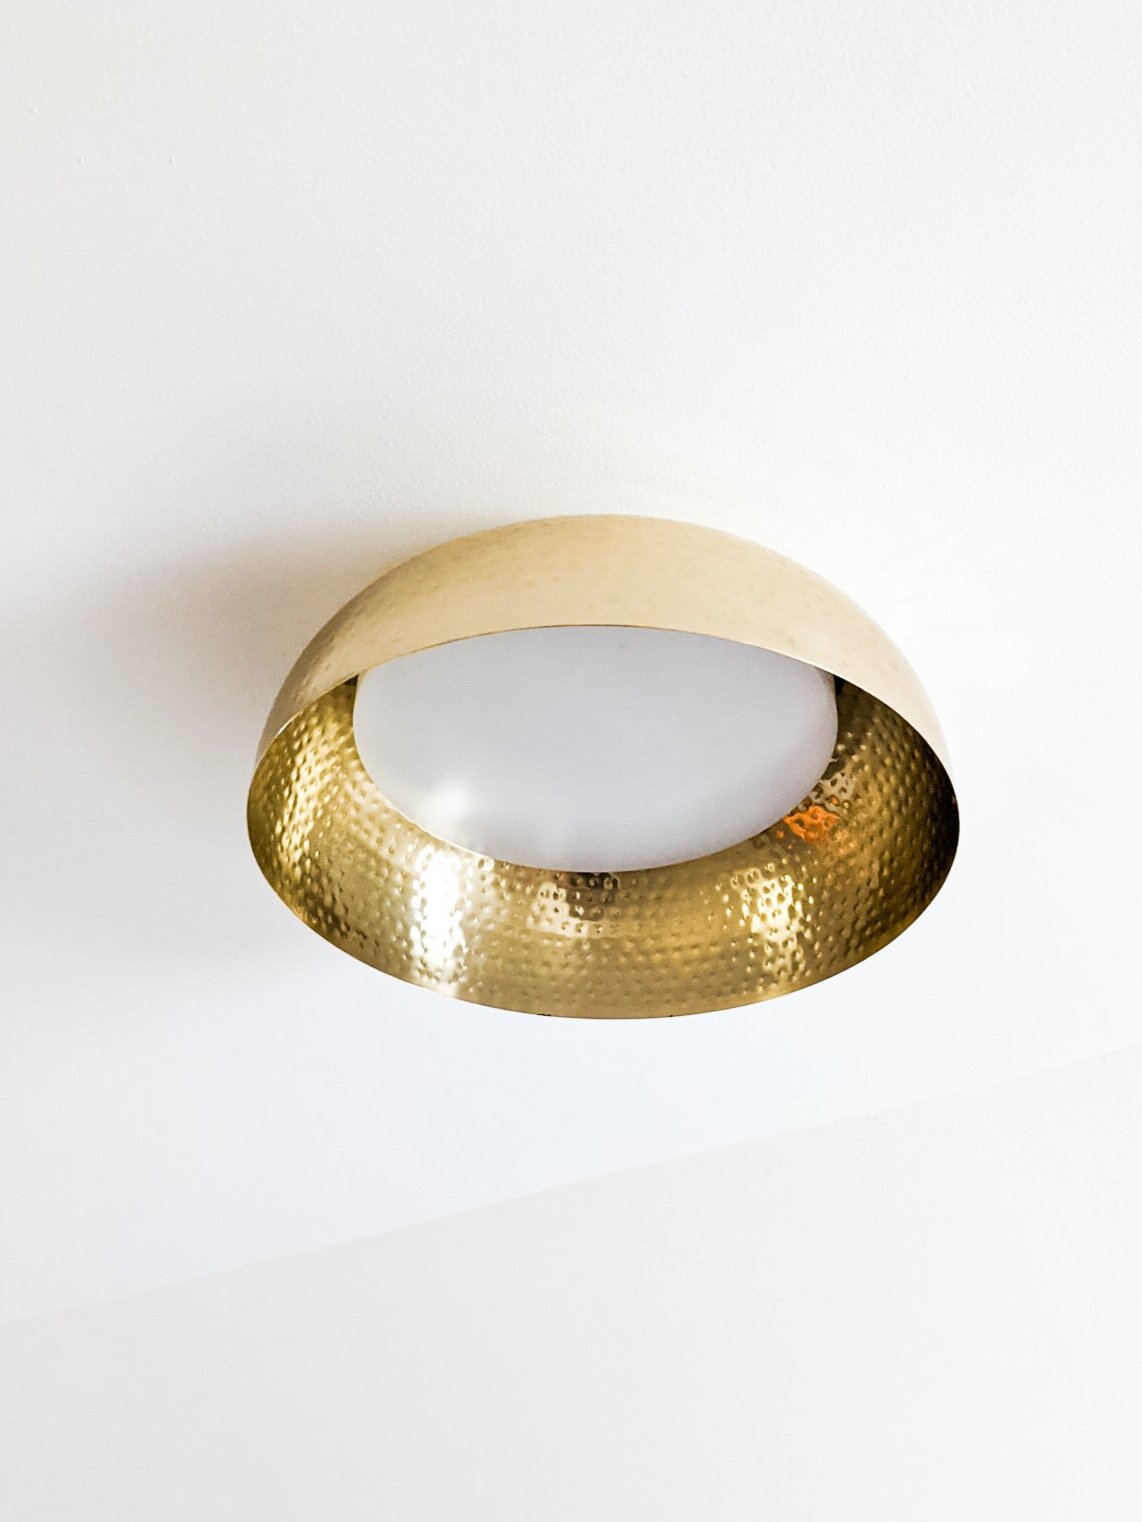
Introducing my BRIGHT idea - the DIY Bowl Ceiling Light!

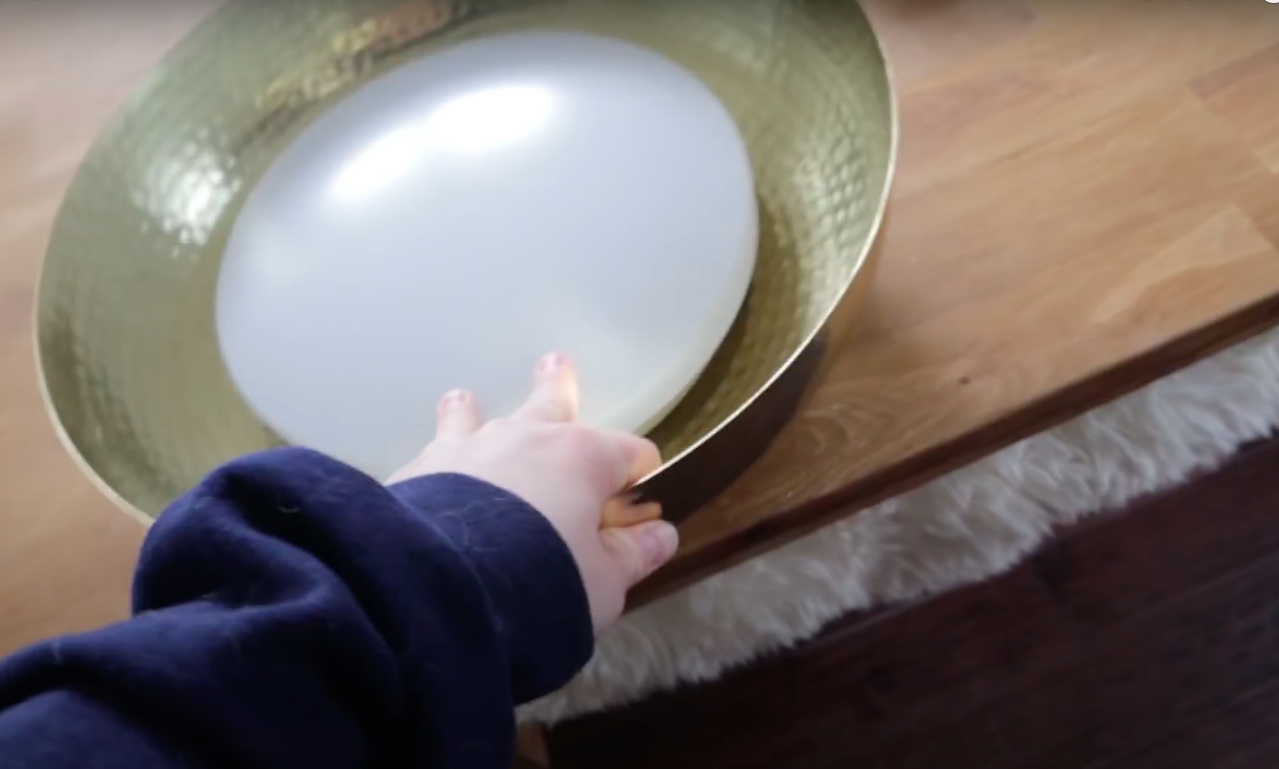
Step 1: Purchase a giant bowl
You can have fun with this! I personally bought a Round Metal-Hammered Bowl in Gold from Amazon but I also thought about the FLÅDIS wicker basket from Ikea - who doesn’t love a good Ikea hack?
I’ve included links below if you wanted to check them out but I say go out and explore! Get creative with it.
Make sure it’s the right size for the light fixture you have!

Step 2: Drill a hole in the bowl to fit your electrical through
If you’re using a metal bowl like me, make sure you use a metal hole saw or you’ll dull out your blade… I’m telling you from experience!
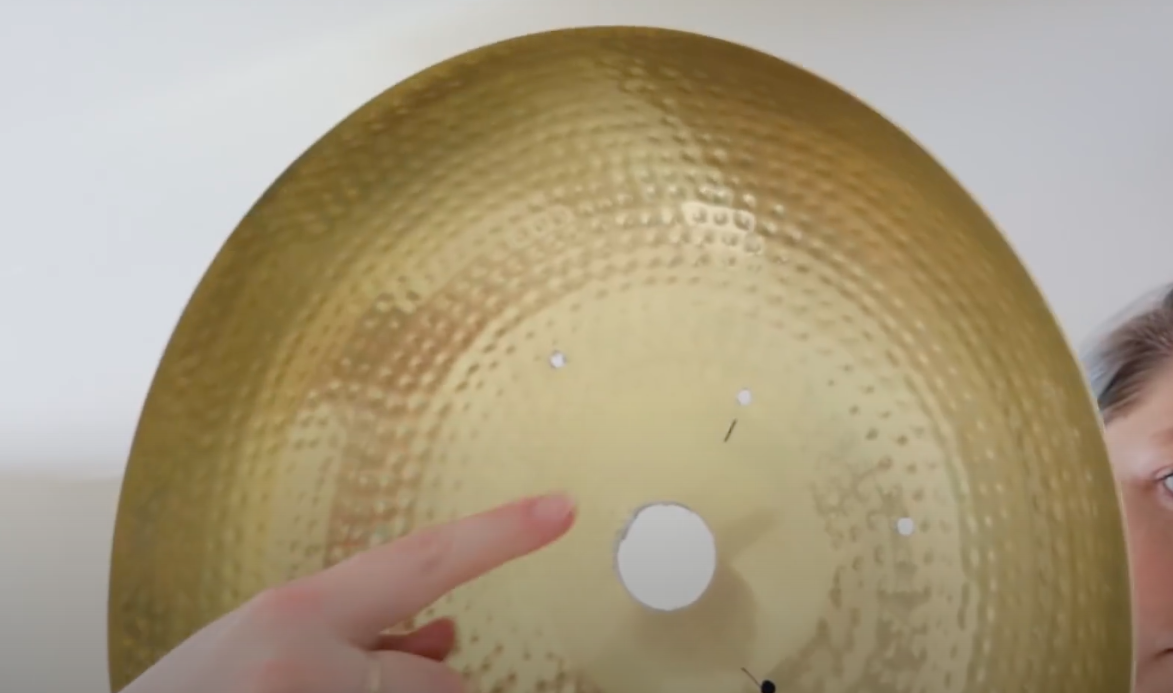
Step 3: Drill your attachment holes
Again, make sure you are using a metal drill bit if your bowl is…you guessed it - METAL!
I used the original light mount to map out where my holes needed to be drilled on my metal bowl.
*NOTE: I ended up drilling 3 extra holes to attach the bowl to the ceiling because I was installing this alone. If you have a buddy, you can skip this step!

Step 4: Connect electrical and screw into the ceiling
First and foremost, if you’re not comfortable with electrical… please consult an electrician to do this step for you!
Secure your bowl base to the ceiling.
Pull the electrical through the bowl hole. Now, like you would with any light, attach your hot and neutral wires in your electrical box and secure your light inside the bowl to the ceiling!


Tada! How cute was this DIY light? Very CB2, West Elm vibes!
Checkout Part 2 of my Bedroom Makeover! Specifically watch around the 24:37 mark to watch me put this simple DIY light fixture together!