
Thrift Store Score: Craft a Rustic Wood Bead Garland with Upcycled Finds
In today’s thrifted fall decor post, I’m going to show you how I turned some discarded decorative wooden balls into a beautiful wood garland! I spent less than $15 on three packages of these dated decor pieces and used a few materials and some elbow grease to turn them into something wonderful.
My inspiration was a gorgeous wood bead garland photo that showed some wooden beads held together with a beautiful jute rope. I love this big and chunky look for fall, especially when it involves wood!
This was such a simple DIY! Here’s what you need:

Tools and Materials List
Thrifted decorative wooden balls
Power sander with clamp (one option for sanding)
Dremel with sanding drum CDN or USD (I found this worked better!)
Drill (use a bit of an appropriate size for whatever twine you will use)
Special Walnut stain
Wire
Twine
Cardboard
Watch All of my Budget Thrift Flip Decor Ideas for Fall
Making the Garland
I sorted through the packages of balls and picked out the round(ish) ones that would work best for my garland purposes. I started sanding them down with my power sander (clamped to the table so I could hold the ball with two hands as I sanded). But I decided that my dremel with the sanding drum worked better for me!
Then:

I used my drill to make a hole in the centre of each ball.
I stained each ball with Special Walnut.
I taped my twine to a piece of wire and threaded it through each ball.
Next, it was time to make tassels for the ends!
I looped the twine around and around a piece of cardboard until I thought it was thick enough to be a tassel.
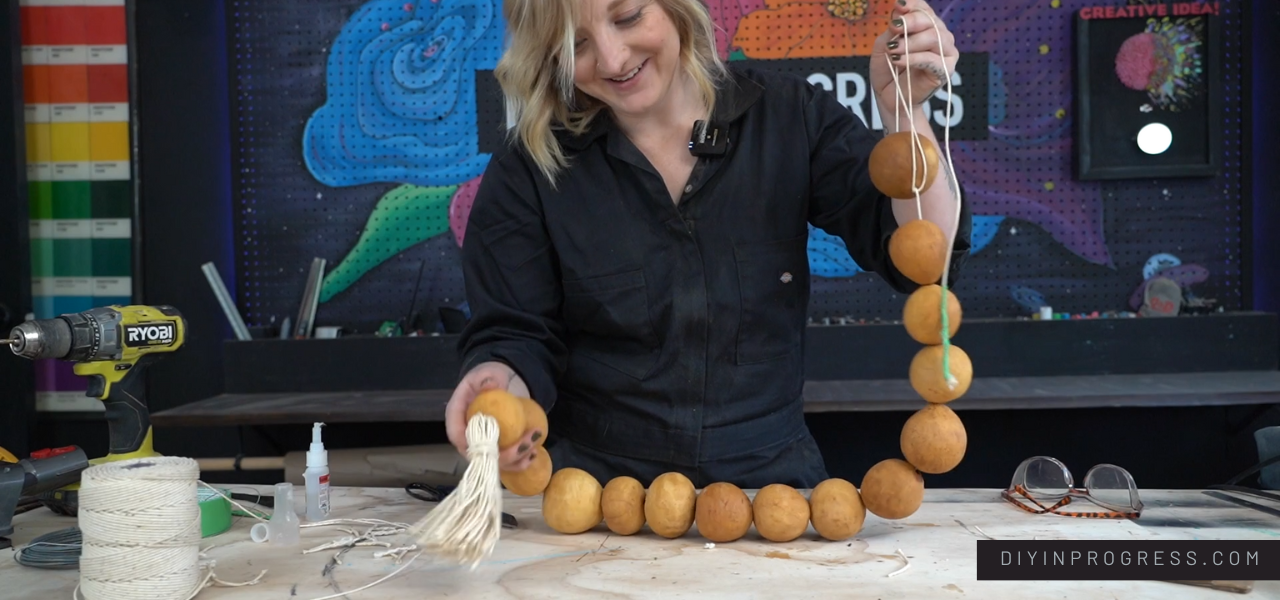
Then I tied it off at one end, slid it off the cardboard, cut the loop on one side, and tied a small piece of twine at one end to finish it off.
I tied the tassel onto the end of the garland.
I repeated the steps one more time to make a tassel for the other end.
And that’s it!
I think this garland will be absolutely beautiful styled on top of a stack of books coming out of a bowl, and I love that I made it myself.
Stay tuned for more fall thrifting flips and DIYs!
