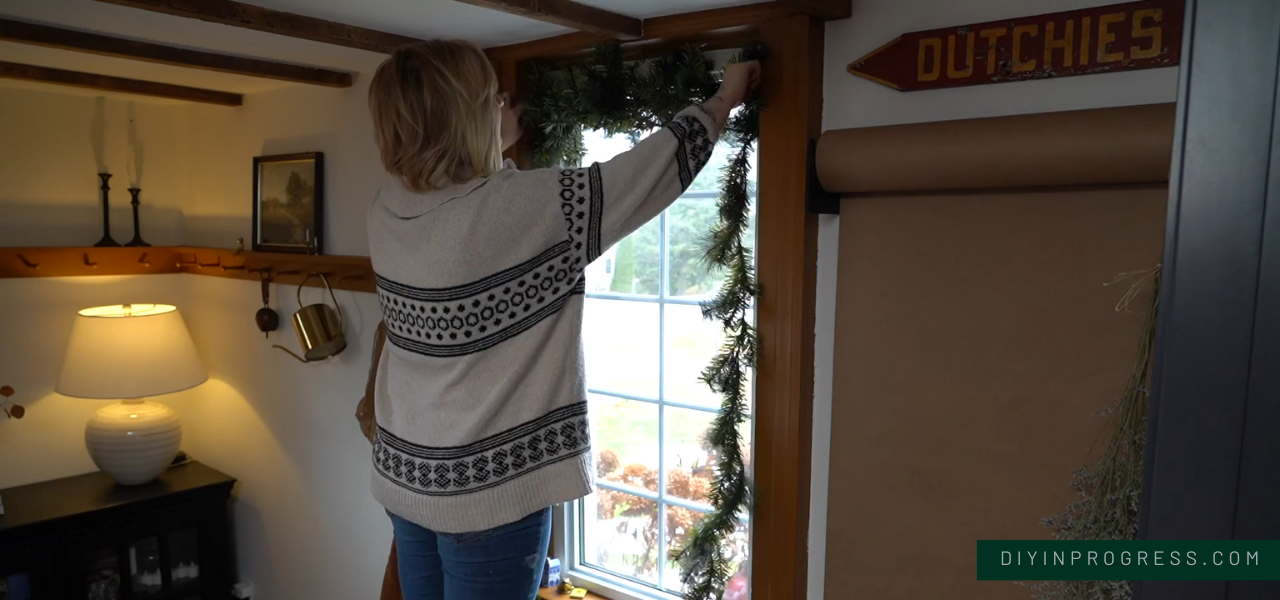
Tension Rod Hack: Nail-Free Christmas Garland for Your Windows
‘Tis the season for DIY Christmas decor! Today I want to show you the super simple and affordable Christmas garland I put up in my kitchen and dining room windows. I used budget supplies (including orange slices I dried myself!) to create a cozy, beautiful display that makes me smile every time I see it.
Let me show you how I did it!
What you need to make this garland
My goal this year was to create decor that was simple, minimal, calming, and cozy. This garland checked all those boxes and was so easy to make.
Tension rod
Home Depot fairy lights
Dollarama cranberry garland
Dried orange garland (I made my own!)
Tension rod + faux garland
I have admired window garland for years but I could never figure out how to get it to stay in the window without making holes in my window frame. I did not want to do this for a seasonal display! So when I saw my friend Wendy from @thekwendyhome use a tension rod hack to put her garland up, I got super excited! I decided to do the same thing in my windows with my own personal Danie twist, of course.
I purchased a tension rod of the right size and wrapped my IKEA faux garland around it so that it draped evenly on both sides, the full length of my windows. Make sure when you do this that it is full and floofed up (is that word?) where it wraps around the tension rod. You don’t want glimpses of what is actually just a bathroom shower curtain rod peeking through and killing your holiday spirit! You also want to make sure that the part of the garland that is hanging has been floofed up too and that each strand is extended to make it look as full on the sides as possible.
Add your twinkle lights
Is it even Christmas if you don’t have twinkle lights everywhere? Not at my house! I purchased a strand of twinkle lights at Home Depot and wrapped it around my tension rod garland. I started at one end and worked my way up and over the rod and down the other side.
Once the lights were wrapped around the entire garland display, I installed the tension rod at the top of the window.
Watch All My Budget Friendly DIY Christmas Decor Ideas
Add some interest and texture
Now, you may be thinking we are finished. And if you want to stop here, you can! But I wanted to add some details to tie my garland into the rest of my decor. I went with an oranges-and-cranberries theme this year, so you can guess what’s coming!
I got some beautiful cranberry garland at the dollar store for super cheap! I took two strands and twisted them into the hanging faux evergreen garland for a gorgeous textured pop of colour.
Then, I added my dried orange garland. See how I made it right here!
I absolutely love how this garland turned out. Between the soft warm lights and the cranberries and oranges, I don’t know which is my favourite element! But even the garland alone is a beautiful addition to any window, and the tension rod hack makes a super easy and practical decor addition.
How will you personalize your garland? Let me know in the comments or tag me with your pics @diydanie!


