Epic IKEA IVAR Cabinet Hack!
Hey DIY friends! Welcome back to the blog. You know I’ve been putting the finishing touches on my dream maker studio, and there was one area that was screaming for a cool makeover: my boring art storage, aka, my trusty IKEA IVAR cabinets.

I stared at those plain pine doors, and my creative brain started whirring. What truly sparks joy for me in design? Three key elements kept popping up: Dark Academia, rustic charm, and a touch of pure whimsy.
SHOP THIS EPISODE


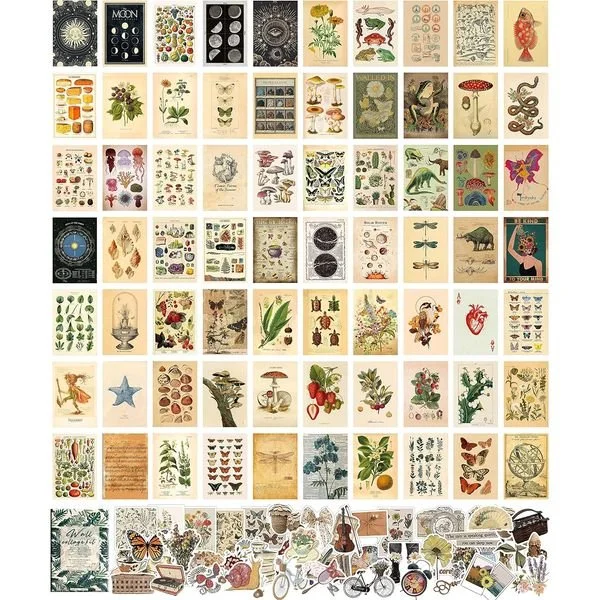


So, what was the plan? First, those light pine cabinets needed a much warmer feel with a rich, dark stain. I also envisioned adding a new top and a base to lift them slightly (functionality and aesthetics, win-win!).Then came the real spark of inspiration. I recently acquired these gorgeous botanical, tarot-esque 4x6 cards, and the imagery was captivating. What if I could find a way to display these fun, unique images right on the front of the cabinet doors?
To balance the visual interest of the photos, the two inner cabinets would get a cool, modern slated detail. And to inject even more personality, I planned to add a unique trim to the top and bottom of the doors.

The plan
For the top, I had some leftover tongue and groove flooring boards from the studio build – perfect for a repurposed DIY! A little glue and clamping, and voila – a beautiful, solid top was taking shape.
Then it was onto the doors and the slated detail. To achieve a flush finish, I decided to essentially create a frame within the door. My plunge saw made quick work of the straight cuts, and a handsaw finished the corners.


Next was all about bringing warmth and depth to the wood. Laminated pine can be tricky to stain evenly, so I opted for my go-to technique: a stain/paint wash. First, a coat of Jacobean stain covered all the pine.
Then came the “wash” part. I simply dipped a brush into a water-based brown furniture paint, then into water, and applied it over the stain. This technique helps to even out the blotchiness of the laminate while adding a rich, consistent tone without losing the wood grain. It might be a bit of a “hack,” but hey, if it works, it works!


To protect the finish and enhance the color even further, I applied the first coat of a water-based satin polyurethane. This really brought the wood to life. Like all poly finishes, a light sanding and a second coat would be needed.
Finally, my favorite part: adding the vintage, botanical, tarot-esque art!

Carefully selecting the images that resonated with me and fit the apothecary vibe (think butterflies, mushrooms, frogs, and tarot), I moved on to framing them. I found a delicate trim that felt perfectly cottage-quaint, adding that extra layer of rustic charm.
Hours of measuring and cutting trim later (96 pieces to be exact!), it was time for assembly. To ensure perfect alignment, I used my laser level to mark a straight path across the doors. Double-sided tape held the art in place temporarily until the frames could do their job.
Using a glue and accelerator, I carefully secured each trim piece around the artwork. This was when the concept truly came to life. While I’m calling it “apothecary-esque,” it’s more about capturing that magical, whimsical, cottagecore feeling. This project brought me so much joy!
A little wood filler to clean up any small gaps in the frames, followed by a touch of Jacobean stain to blend everything seamlessly, and then a final protective finish. Finally, the cabinet top was secured, and chocolate-inspired trim was added to the sides to hide the IKEA IVAR hardware.
The doors were installed – a truly exciting moment, even through the exhaustion! And as the final touch, two gold hardware pulls were added to the inner cabinet doors, a subtle pop of brass for a touch of sophistication.


The IKEA IVAR cabinet hack was complete! Looking back at the plain IKEA IVAR cabinets, it’s hard to believe the transformation! With a little DIY magic, I now have the coolest cabinet in all the witchy apothecary lands! This project could have gone either way, but it turned out exactly as I’d hoped: a unique, one-of-a-kind piece that creatively inspires me and adds so much personality to my studio space.


I love the displayed photos, and I love that it captures the essence of an apothecary piece without being a carbon copy of everything else out there. It’s playful, it’s whimsical, and it’s totally me. Another IKEA hack for the books!


