DIY Hand-Painted Wall Mural
I’ve been renovating my new farmhouse over the past year and it was time to tackle my backdoor entryway. We really don’t use this entrance except to let Kenobi out into the backyard to play but it’s an extension of our living room so I really wanted to make this space feel complete and beautiful. It actually happens to be tucked away from the rest of the house, so I decided I was going to step outside my comfort zone and try something gutsy. My home is full of neutrals, I really wanted to embrace colour in this small space.
To be honest, I don’t think I’ve ever questioned my design decisions so much in my life! But what did I learn from this experience? I need to trust my gut more and listen to my instincts.
You can checkout my whirlwind journey by watching the video below. As you can see I really went for it with colours! YIKES.
If you want to checkout my project board on Milanote click the link here!
THE INSPO: The inspiration for this mural came from a beautiful wallpaper on Etsy called vintage Van Gogh wallpaper. It was an odd choice for me because it’s not often I’m drawn to greens and corals but something about this wallpaper just made my heart sing. I just loved it!
Of course, I didn’t just want to buy the wallpaper - too easy! I wanted to make it, so I put my artistic DIY skills to the test!
When it was time to open up my paints and start prepping, this is when I started to really worry. Was I making a “pour” decision? (Thank you! Thank you! I’ll be here all week!)
I prepped my space and started rolling. Truthfully, it was such a crummy week full of rain and darkness when I tackled this project, so the lighting was never right and probably instilled a little more doubt in my colour choices. I did one thin coat of Grasslands green with a roller and then went in with the same colour but applying it with a sponge to give the green more texture. Let me tell you - that sponging took forever. Remember in the 90s when our homes were covered in sponge painting? How did anyone have the patience to paint that? We didn’t even have podcasts or playlists back then!
After I finished dabbing the Grasslands colour, I went in with some Perennial Green to give the wall more depth and texture. Once that was done it was time to paint the “pièce de résistance” - the trees and cherry blossoms. I used Oxblood for the branches and Watermelon Slice for the cherry blossoms. I had a lot of fun with this! I ended up pulling out some of my acrylic paints to give the trees and blossoms a little more detail.
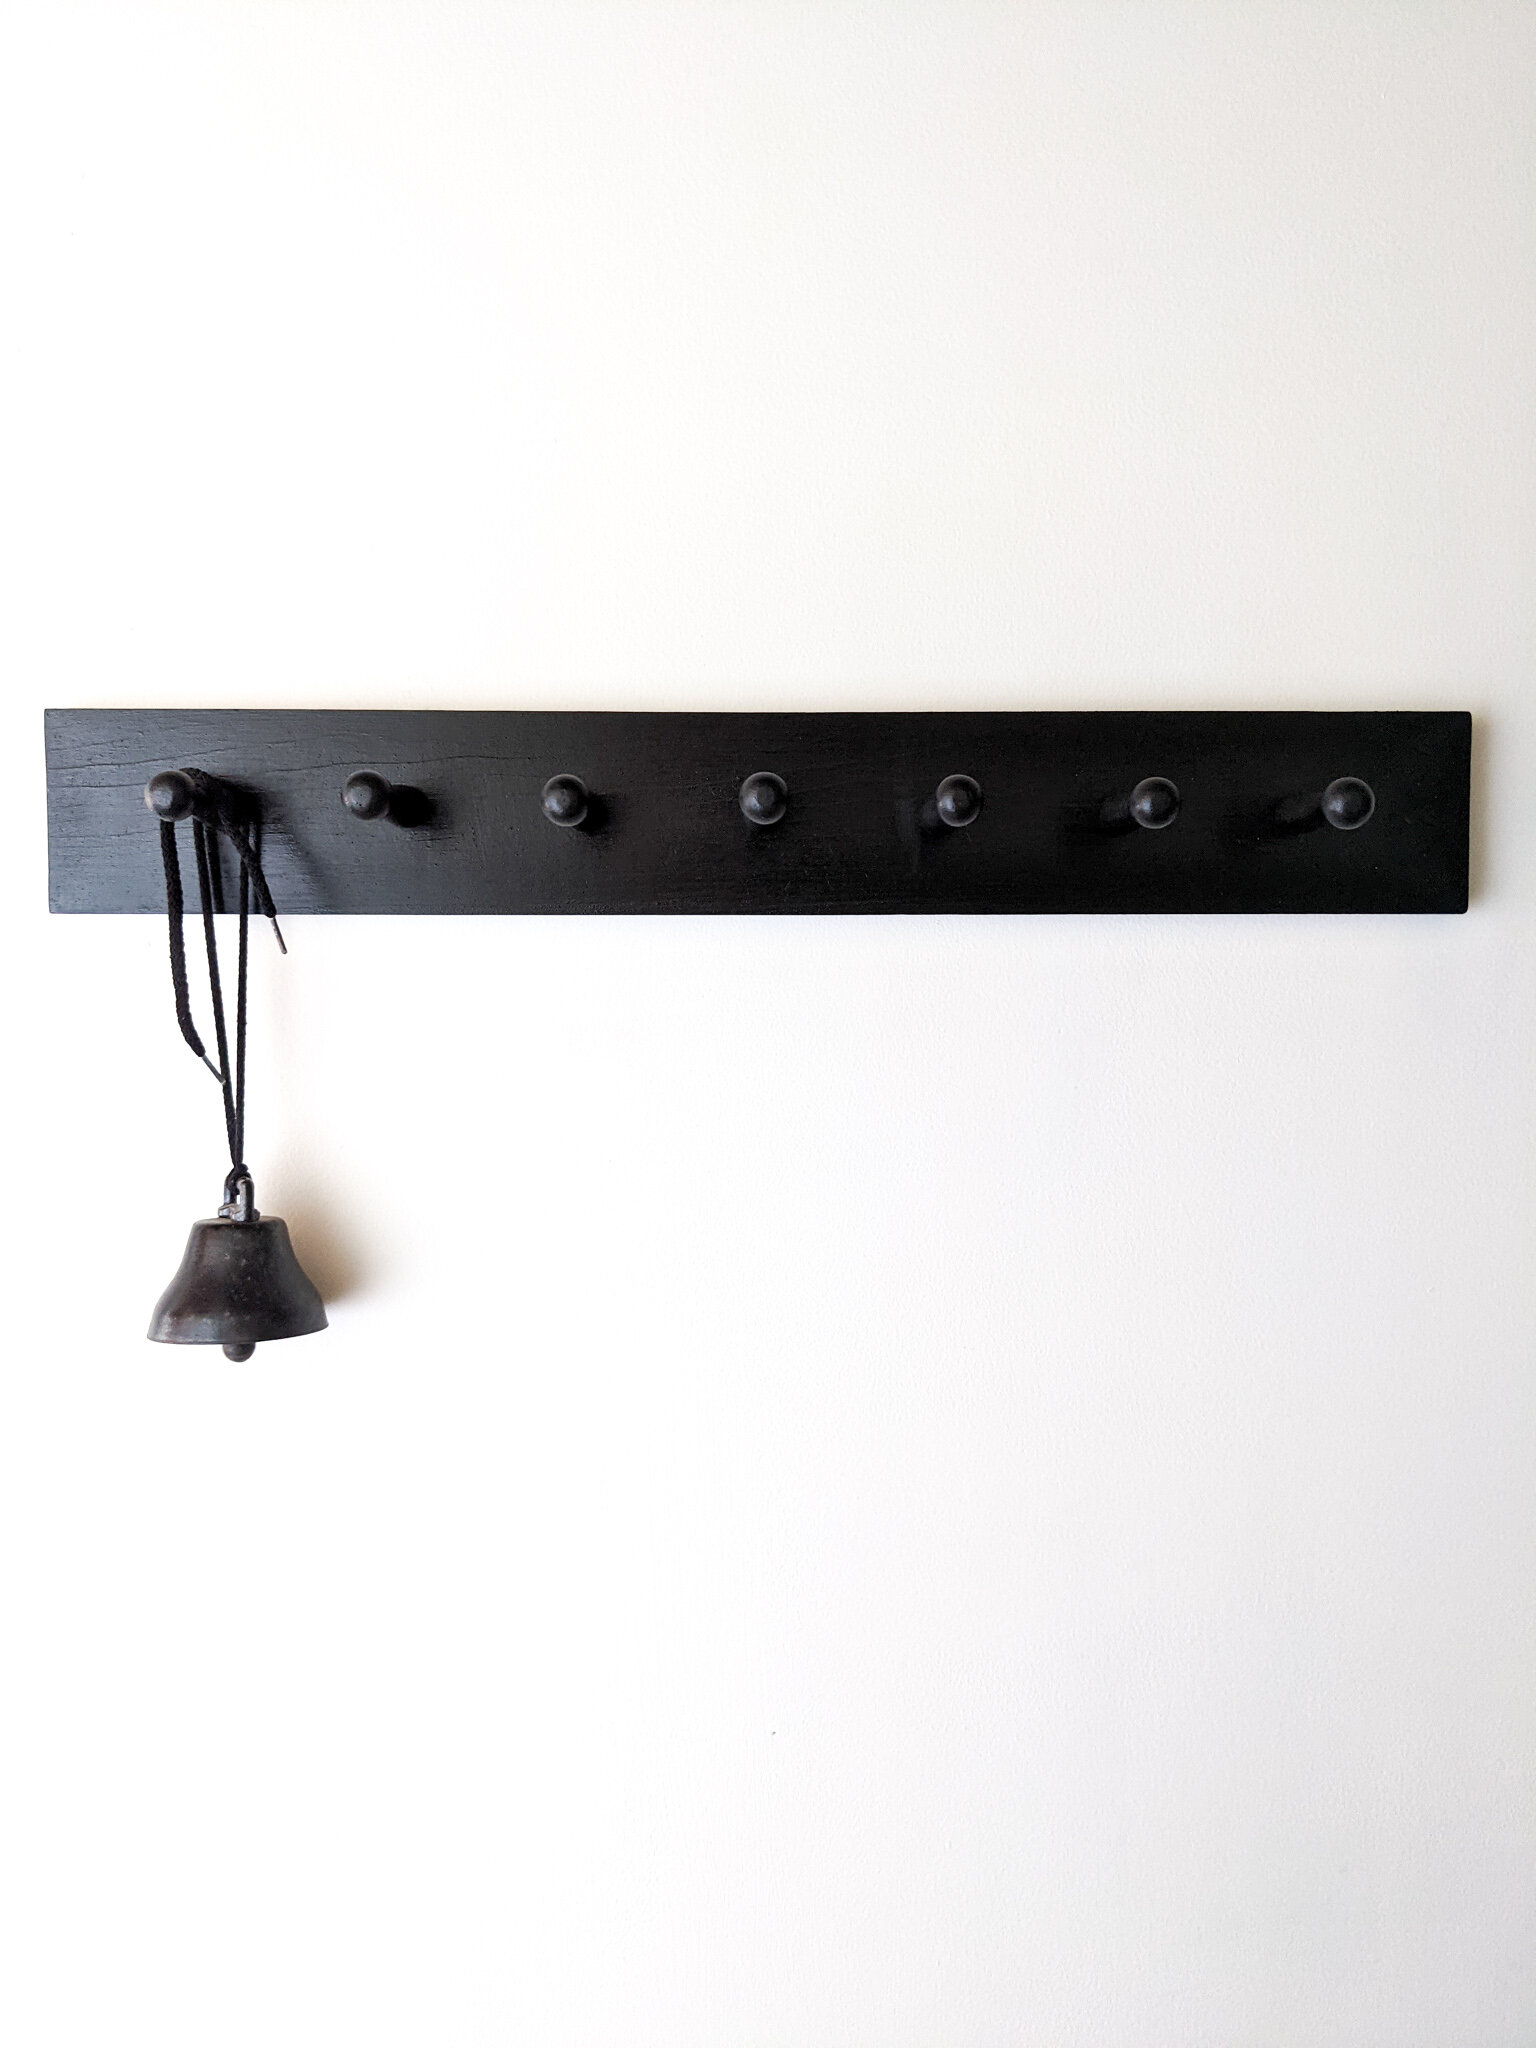
The entire job took me two days but I was shocked with the end result. I love the drama this wall creates in my home. Paired with a beautiful custom DIY floating shelf , DIY Peg rack, a fun antique wall phone to hold Kenobi’s treats and some accent decor - this little wall came to life and made this hidden corner of our home feel unique and one-of-a-kind.


