My Guide to Building a DIY Wooden Console Table
Hello again, DIY friends! I'm back with another living room makeover project that I can't wait to show you! The lack of storage in this room was a serious issue, and I decided to tackle that by building my own DIY console table that would serve as storage for my media center as well as for any odds and ends that I wanted to keep out of sight and out of mind. Come see how I built this piece of furniture that has completely transformed how I use my space.

Tools and Materials List
Would I call this DIY console table project an easy build? Let's say it's somewhere in the middle! It doesn't require a lot of specialized tools, but it was a bit fiddly (especially all the clamping) and drawers are never my favourite thing to build. But even though this isn't a super easy DIY wood console table, if you're willing to put in a bit of time and effort there's no reason you couldn't build your own!
What kind of wood for a console table?
I decided to make this console table out of maple, but any wood type will do! I did use a few different types of maple lumber to make it happen. I used maple plywood to build the main storage unit - this kept cost and weight down! The thick top and vertical pieces were built from undressed 2x8 maple boards sourced from my local lumber yard. I wanted the top and verticals to be THICK! The top was the real star of the show, so choosing maple plywood for the middle was a great way to save some money without compromising my vision.
To make this table exactly as I did, here is your supply list:
(2) Undressed 2X8 Maple Lumber (Top + Verticals)
(2) Finished 1X8X6 Maple (Drawer Fronts)
1/8" MDF (Drawer Bottoms)
4X8 sheet of Maple plywood (Drawers / Console Body)
1/2” Dowel
Drawer slides (cheapest on Amazon!)
Drawer hardware (optional)
Planer
Table saw
Clamps (so many clamps!)
Orbital sander and various grit sandpaper (80,100,120)
Impact Driver
Square
Iron (for the edge banding)
Mallet
See how I built my dream DIY wooden console table
Prepping the boards
The first thing I needed to do was prep the wood for my console table build:
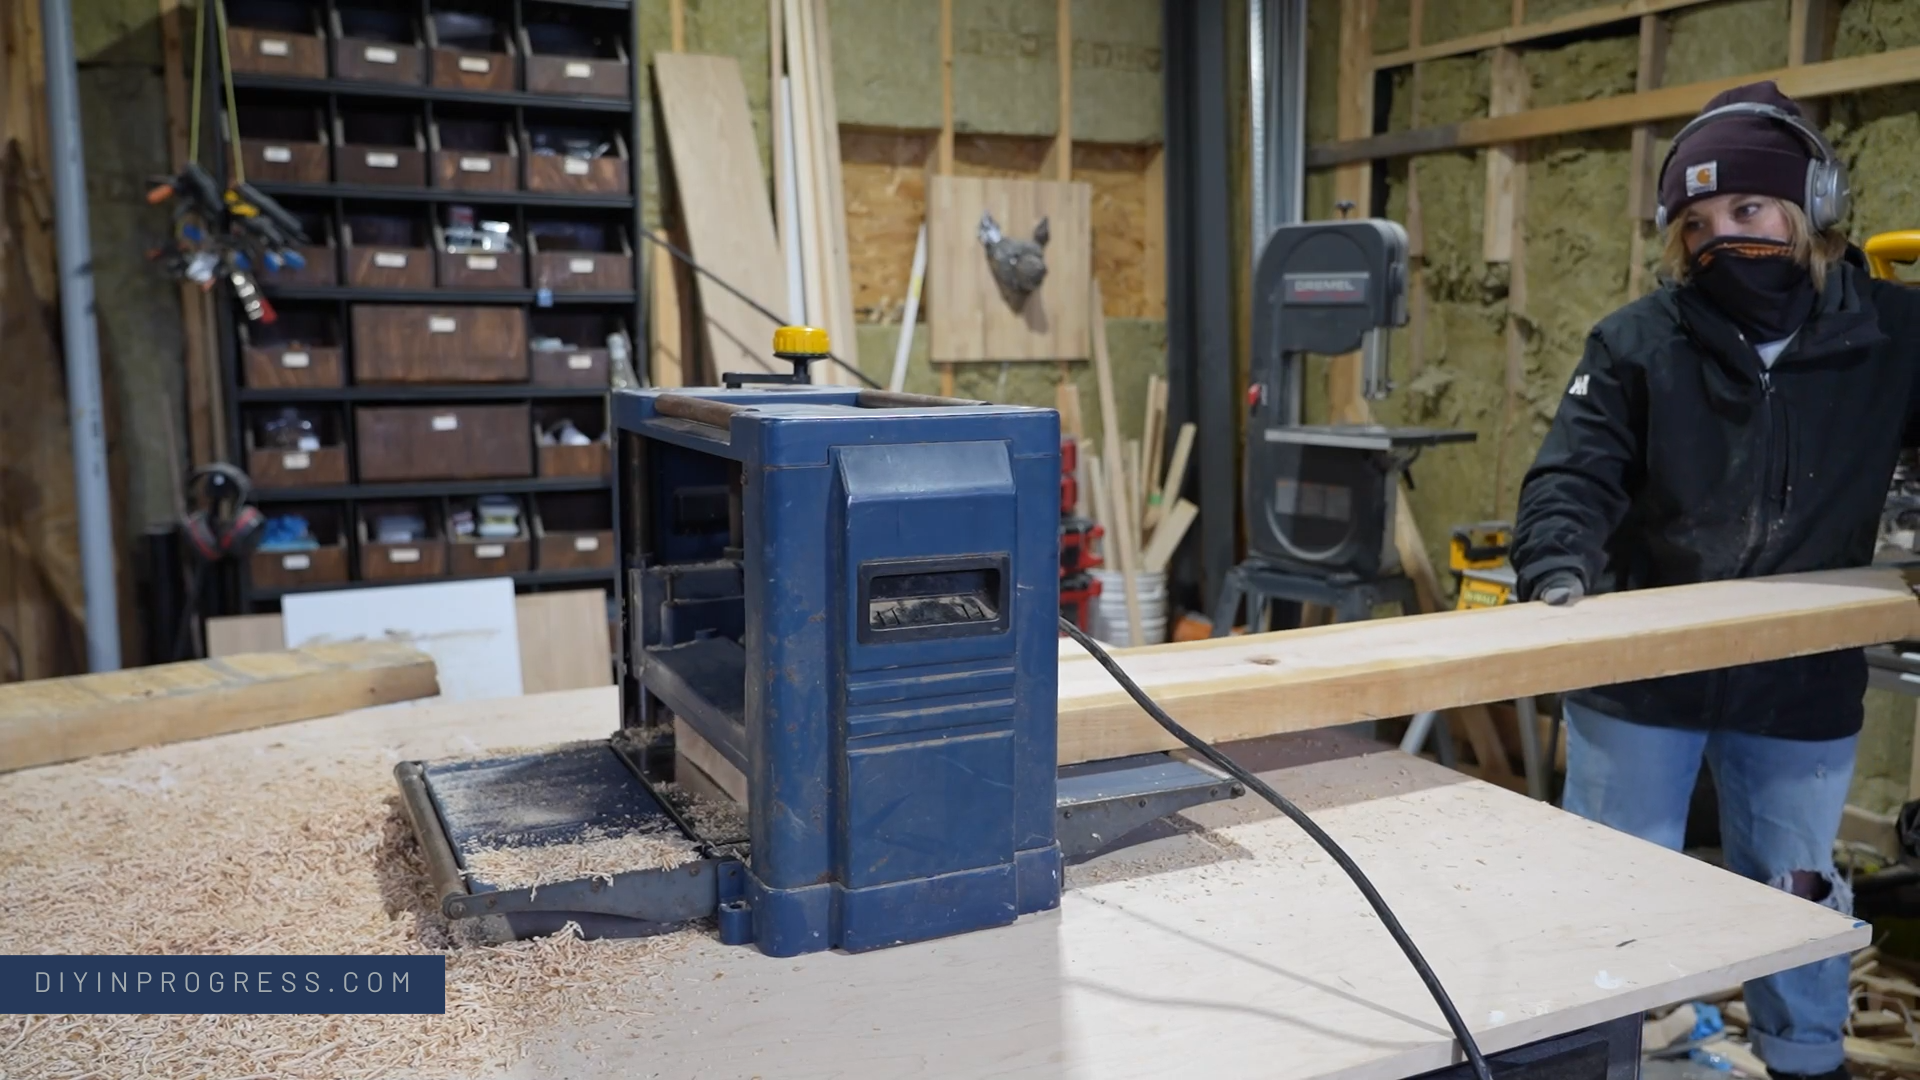
I ran the (2) undressed 2x8 boards through my planer and trimmed the long edges with the table saw (I don’t have a joiner, so this was the next best thing)

Using wood glue and clamps - I secured the (2) planed 2x8 boards together and (2) 1x8 boards together and let sit over night.
The next morning, I cut off enough length from my two-inch thick wood to make up the verticals (middle support and feet) for the console. The left over would act as my console top.

Working through the grits, I sanded the boards smooth.

Using a chop saw and Circular saw jig guide, I cut the necessary sized pieces from my 4x8 maple plywood to build the drawer boxes and main console body.
Building the box

Once my plywood was cut, I put my box together using pocket holes using my pocket hole jig. To give the box a seamless look on the corners, I cut the corners at 45 degree angles. Doing so, allowed me to avoid edge banding the sides.
I cut and installed two vertical support walls that were pocket holed in place to act as my inside drawer dividers.
I left the back of the console open because I will have lots of cords running back there and it is just easier this way.
The drawers
After the box was built, the next step was to add the plywood drawers!
Instead of building the box and then installing the sliders, I decided to install the sliders and the sides of the box FIRST. This allowed me to get the most accurate measurements for the front, back, and bottom of the drawers as possible. Once I had these measurements, I cut the boards I needed for the drawer fronts. I then used my table saw to cut a small 1/8” channel at the bottom of all the drawer pieces so I could slide my 1/8” MDF piece inside to make up the bottom of the drawer.
Putting it all together
Before I added the finished drawers to the box, I installed the legs by drilling down into them from the bottom inside of the media box. Since this is hardwood, I needed to pre-drill first. I also used this time to secure the vertical supports that sat on top of the box by screwing up through the inside of the media box.
DRAWER FRONTS: The drawer front was still one large piece made up from my (2) 1x8 boards glued up. I placed the long board in front of the media console and marked where each drawer front should end (I used the middle of the inside vertical walls as my guide) and cut the board twice to make up the three drawer fronts. I then secured them using screws from the inside of the drawer.
SECURING THE TOP: I didn’t want any pocket holes seen, so decided to use dowels instead. I measured and marked where each dowel should go, drilled the 1/2 hole in both the top and vertical support, added my dowel with a bit of glue and secured them together.
Finishing touches
It was almost all done! The last thing my table needed was a little bit of customization to really make it my own.

I love a dark twist to my rustic modern taste, so I wanted to stain it a dark black. I achieved this look with two products: a pre-color stain called Mystic Brown by Rubio Monocoat and then 24 hours later, a black oil-plus 2C to finish. Once fully cured, the oil would not only darken the brown to give it the “black” look i wanted, while still seeing the grain but also create a hardened finish to protect from wear and tear.
Lastly, I added knobs with a capiz shell finish and brass settings, which I think are the perfect accent. I then styled the console with home decor that had colours and textures that complemented the white capiz shell.


I really impressed myself with this wooden console table! I love how it all came together. It is the perfect size for my living room and looks so good in the space. What I love most about DIYing my own furniture is the ability to take inspiration from pictures and truly make it my own.
Would you make this console piece? Tell me about your DIY adventures in the comments or tag me @diydanie!