Greenhouse DIY Part 4: The Final Reveal!
Welcome to today's DIY in Progress, where I give you the final segment of my journey to build my very own greenhouse from the ground up. Today, I'm going to show you all the details that went into finishing the inside of the greenhouse, from building shelves, to getting my tub set up for the growing season, to DIY storage projects, to styling the shelves.
If you're just tuning in, I recommend you go back and read: Part 1: building a sturdy greenhouse frame, Part 2: the windows and roof, and Part 3: the exterior.
So, let's get to it! Let me walk you through how the interior of my simple DIY greenhouse took shape, one step at a time.
Adding function to the interior of my Greenhouse DIY
Now that the exterior of the building was done, it was time to finish the inside! I added shelves, a simple storage system, and interior lighting to make this happen.
The Table Tops
First up: the table tops on either side of the greenhouse.
I decided the best option to help me achieve the look I was going for were some antique doors that I had in my stash. I had a plan for the space to look unique and quirky, and what better way to do that than to use half a mahogany door with the doorknob still on it as a table?
The first thing I did was measure the space and figure out exactly how wide I wanted my door tops to be. Once I was confident about these measurements, I used my tracing guide and circular saw to get an exactly straight cut. I then added a wood cleat system to anchor it to and added metal brackets. Next, I cut a 2x4 pressure-treated board with my miter saw to use as a vertical leg underneath for extra support. I put two of these legs under each door.

The shelves
I made the shelves from 2x8 pine boards. I cut them with my miter saw and screwed the brackets they would sit on into the frame between the windows, halfway up the wall. Of course, I used my level to make sure the shelves were perfect! This is not something you want to eyeball.
I decided to paint the shelves a bright white using Behr Porch and Patio paint. These boards weren’t made for exterior applications so painting them provided an extra layer for longevity. Beyond that, this decision really helped lift the space and give a nice contrast against all the surrounding dark wood.

I also created some fun shelving options using the brass hardware from the tub! I installed the soap caddy on one wall to hold a single plant. I also attached the towel bar to the underside of one of my pine shelves to use as a plant hanger.
Changing plans
Speaking of paint, let's talk about the interior colour for a moment. Originally I thought I was going to paint the entire top half of the inside (so, all the window frames) in a bright white color to contrast with the rustic look of the wood below. But I really fell in love with the weathered look of the old windows against the new wood of the frames. I decided to leave it for now and see how I feel later.
All the pressure-treated wood I used for supports and framing needed time to dry and could not be sealed right away. So, eventually I will either paint it or put a sealer on it to protect the natural wood. But for now, it stays the way it is.
DIY Greenhouse Storage: IKEA MOPPE Drawers Hack

A greenhouse needs storage! I went to IKEA and picked up two MOPPE wood boxes with drawer storage. IKEA products are always a great idea for projects like this because they are so easy to customize. I stained the boxes using Puritan Pine, which is a nice light rustic brown colour. Then, I added some pretty little metal label holders to the front of each drawer. Now these plain and boring boxes are a gorgeous customized storage system.


How to use an old bathtub as a planter
This was the moment I had been waiting for since the very beginning...filling the tub! This was such a unique way to create a raised bed right inside the greenhouse and I just love it. It was too late in the gardening season for potatoes, so we used other plants. It will be a gorgeous and functional vegetable garden space for years to come and I’m so happy with it. Here are the layers you need to create good drainage in an indoor tub (while still leaving plenty of room for the garden plants themselves):
Pea gravel
Dead branches (leaves still on them)
Compost
Cardboard
We filled the tub and other pots with all the tiny plants I had been growing behind the scenes until the entire greenhouse was filled with beautiful green life.

Lighting
Because we don't have electricity running to the greenhouse (this would have made the building permit and entire construction process so much more difficult), I had to get creative with lighting options. The easy way to get around this obstacle was to go solar.
I found this beautiful farmhouse style solar light for above the door. The only problem with it was that it was too tall for the small area it was being placed in. But that's a problem I could fix! I cut the long bar to the right length with my grinder. Then, I re-welded the end of the light back on to the shortened bar. I used my grinder again to clean up the weld. I spray painted the weld with Tremclad Rust Paint that matched the rest of the light so you couldn't even tell where the cut was!

I attached the light above the stain glassed window over the front door frame. This light gave my greenhouse the tiny home vibe that I had wanted from the beginning.
For inside the greenhouse, I sourced a beautiful industrial-looking solar light. I installed the light on the ceiling and put the solar panel for it on the exterior at the back of the greenhouse, out of sight where it had access to the sun.

I also found some solar light strings to put up along the interior side walls that I thought would look so cute and add lots of light in the evening.

Let's get crafty with Cricut
I made some crafts with my Cricut Maker machine that really brought the interior of the greenhouse together. You've all probably seen me use this machine to create other unique DIY projects like my felt chair, my Einstein table, and my space-themed kids' room. It's pretty amazing what the Maker can do! It can cut over 300 materials including fabrics, paper, leather, and even wood.

I used my Cricut Maker in two different creative ways to make some DIY decor for my greenhouse.
Creating a custom Stencil with Cricut
The first thing I made was a custom stencil. (Cricut machines are such a great way to create stencils.) I wanted to create an old-timey shop sign for the front of the clawfoot bathtub.
I designed my logo and brought it into Design Space (free with the purchase of your machine!).
Then, I sliced and diced it so the machine would only cut the lines I needed for the stencil.
I used a piece of plastic sheeting that is compatible with the Cricut Maker and put it on a cutting mat.
Next, I took my brayer tool (like a small roller) and made sure the plastic was completely flat.
I put the mat into the Cricut and then hit "Go".
When it was done cutting, I used my weeding tool to remove the parts of the stencil I didn't need.
Painting on the stencil
Before painting the stencil onto the tub, I painted the tub itself and gave it a fresh new coat of green. This is because it is best to apply the stencil by putting on a coat of paint the same color as the background first, which meant I needed to paint the tub itself too to make sure the paint layers matched exactly. I used Secluded Woods by Behr Marquee because it can cover metal.

Once the base layer of paint on the tub was dry, I taped my stencil to the tub using painter's tape. Then:
I rolled a coat of Secluded Woods over top of it.
Next, I painted on the Liquitex Basics acrylic paint for the top layer of the stencil in a gorgeous gold colour. I used a brush for this layer to avoid getting too much paint on the stencil (you don't want it to bleed).
When it was dry, I removed the stencil and did some touch ups with a small craft paint brush. It looked so, so beautiful.
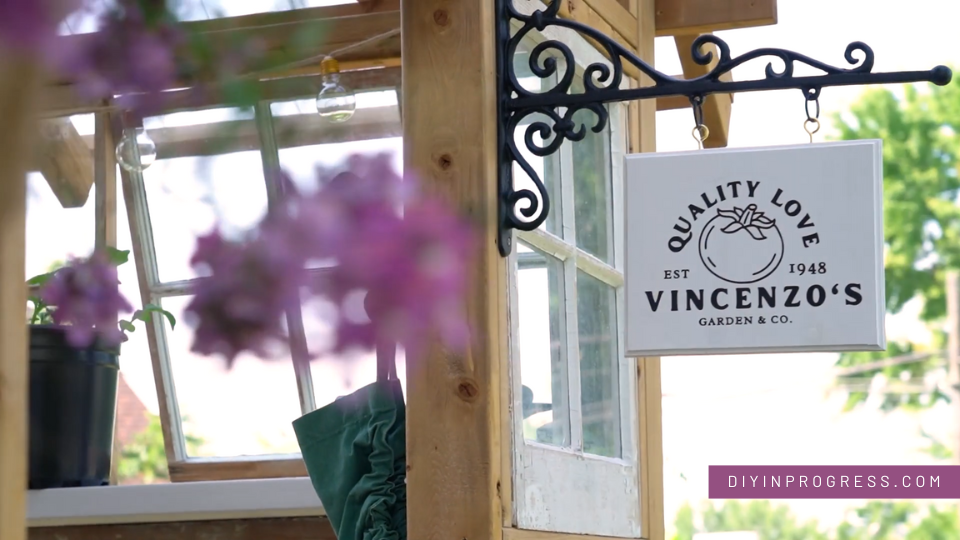
Welcome sign
When I was making my DIY greenhouse plans, I always had a vision of a wooden sign that would hang outside the door. I thought this would be a great addition to welcome people to the space, and I was finally ready to bring the plan to life.
I decided to use the Cricut to create this sign using the same logo as the bathtub stencil but in a different way! This time I used black Permanent Vinyl to cut out the logo. I had the image loaded into Design Space already so all I had to do was click "Make it" and Cricut performed all the necessary cuts while I just sat back and watched.
Once the vinyl was cut:
I removed the large pieces around the outside using a pair of scissors.
Then, I peeled the black vinyl away and used my weeding tool to remove the extra from around the little details.
Next, I used my transfer tape to cover the logo and used my scraper to make sure the transfer paper was stuck down to every inch of the vinyl logo. (I did this whole process twice because I wanted a double-sided sign.)

I bought a metal hanger for my sign from Legacy Vintage Building Materials. It's cute, ornate, and perfect for my vision! I spray painted it black using Tremclad flat black exterior spray paint. And, I removed the metal sign piece that came with it because I wanted to make my sign out of wood.
I cut a piece of hobby pine into an 8x10 rectangle. I bevelled the edges to give it some personality, using my router with the Roman edge bit to create the look I wanted. Then, I sanded the edges smooth and gave it two coats of white paint. I used a paint brush since it was such a small area.

Once the paint was dry, it was time to apply my logo. I carefully peeled the backing paper off, leaving the logo stuck to the clear transfer paper. I then positioned it carefully and transferred the logo onto the wood, using my scraper to ensure good adhesion of every piece of the vinyl. I peeled the transfer paper off and voila! We had a wood sign. I sprayed the whole thing with a Rustoleum clear coat spray so that it would last outside.
I added gold eye hooks to the top and hung it from the gorgeous metal hanger. Then I used some wood screws and my impact to attach the hanger to the outside of my wooden greenhouse, right by the door. I think I picked a great place for the sign and it looks so welcoming.
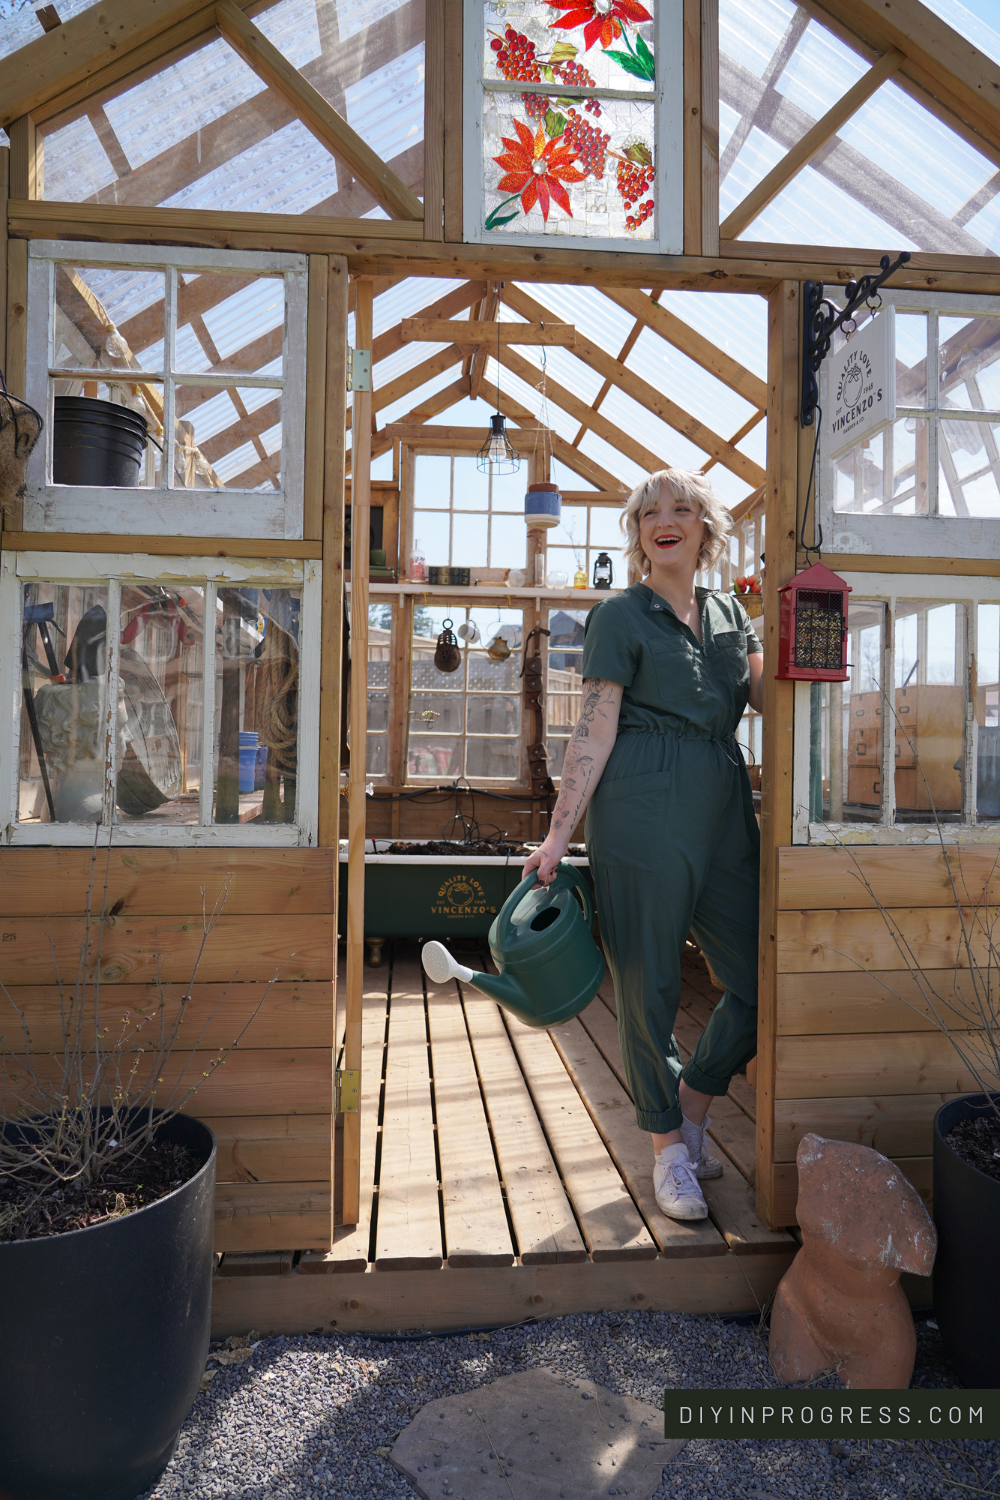
Finishing Touches
This last day was all about bringing the entire project together and doing all the styling and the decor. The theme I was going for was a mixture of herbology, Secret Garden, Narnia, and of course, ME!
I achieved this with a combination of bust statues, new plants (obviously), stacks of books, and little knickknacks that I love. Most of it was thrifted and anything that wasn't holds meaning for me, which is one of the best ways to get an authentic vibe in any space. Even little things like changing out the standard door handles with more eccentric hardware can make such a big difference to the unique look and feeling of a space.
I hung some hooks for shovels and other gardening implements on the wall, I put up some hanging plants, and I filled my custom storage drawers with seed packets. Basically, I moved into my greenhouse and made myself comfortable.
FAQs About My Greenhouse DIY

What is the cheapest way to build a greenhouse?
The cheapest way to build a greenhouse is to do the work yourself and source as many building materials and interior and exterior decor as you can for free or cheap. Look at a few greenhouse designs and pick one that you can build with your skill level. I have plans for my greenhouse for purchase here. If you don't want to freestyle your greenhouse design but don't want to use a greenhouse kit either, look around online and find some free greenhouse plans. Your perfect beautiful greenhouse is out there somewhere, I promise!
How much does it cost to build a backyard greenhouse?
I realize you’re all probably curious what a project like this cost me! I worked really hard to follow my own advice and source as many items and elements for free (still proud of the glass windows I was gifted and worked so hard to install). Even so, this project cost me $3600. $3604.28, to be exact! If that seems like a lot, think about all the DIYs I did (with the help of my people) and all the materials I got for free. It would have cost me so much more to buy new and hire labour! I had budgeted $5000, so the actual cost is a win in my books.
How do you make a homemade greenhouse?
Well friends, we have arrived at the end and I hope I have answered this question for you throughout these four posts. The way you make a homemade greenhouse is by having a plan, recruiting people who love you to help execute it, and devoting a whole lot of time and patience to see the job through. I set out to create the most beautiful, Pinterest-inspired greenhouse of my dreams, and I feel like I accomplished my mission and then some!
Also - I don't think this will be the last time you see this greenhouse. I need some time to use the space and figure out how it works for me, and then who knows! Will I stain or paint the interior? Add storage? Only time will tell, and I promise to let you in on all future related projects. Thank you all so much for seeing this building process through to the end with me. Let me know in the comments what part of the journey was your favourite, and please also share your own homemade greenhouses if you have them!
See you next time!