Fantasy Cabinet Thrift Flip


I feel like I am definitely not alone when I voice the sustainable value and joy you get from a good thrift! My journey to flip this cabinet was both insightful and surprising, as I set out to create a modern designed piece and ended up with a magical fantasy-inspired cabinet instead! Perhaps it was my nerdy intuition guiding me, or my personal need to create something with a little more diy magic, but regardless of it all, this cabinet is BY FAR the coolest thrift I have ever flipped. I’m thrilled with the way it turned out and I hope you find inspiration in this piece too!
Recently, I was on Facebook Marketplace when I found this GIANT Paper Cabinet and I just couldn’t say no! It was made of 100% walnut, revealed beautiful ornate detailing on the corners + the bottom of the doors and featured lots of storage and drawers on the inside. Of course, with every thrifted item, comes some undesired spots… like it’s plastic knobs and a broken foot - but that was all fixable!


THE INSPO HARDWARE
THE VISION
First and foremost - That gorgeous detailing? Yea, it’s getting embellished. It almost looks like the cabinet has shoulder pads - I loved that.
I’ve also been really inspired by this star shaped door knob hardware (left), so I decided I was going to use this as my inspiration for the front of the doors.
For colour, I was going black for the exterior and something a little wild on the inside. I love a good “moment” on the inside of cabinets, so this was no exception to that rule - I really wanted the inside colour to pop when you opened it up!
THRIFT FLIP MATERIALS
Cabinet - Local Facebook Marketplace Find!
Black Satin Stain + Polyurethane! - https://bit.ly/3bJqbGW
Aluminum Sheet - https://bit.ly/3bHWGp5
Construction Adhesive - https://amzn.to/3bFihyg
Gold Mirror Effect Spray Paint - https://amzn.to/3fzdD5Z
Black Spray Paint - https://amzn.to/3hERK89
Vinegar - Local grocery store
Vinegar Spray Bottle - https://amzn.to/3u8DtTy
Cabinet Knobs - https://bit.ly/3ywxA67
Interior Paint - Chinaberry 1351, BM - https://bit.ly/3fyxuSU
Vintage Label Holders - https://amzn.to/3i3BYnE
New Cabinet Latches - https://amzn.to/3vxXOmU
THE STEPS

First, I fixed the broken foot. To do this, I removed the bad foot with my reciprocating saw.
Then, I traced the mirrored foot to create a template for my new one. I traced this template onto a spare piece of lumber that was the same thickness I had in the she-shack and used a protractor to determine the angle it sat on the piece.
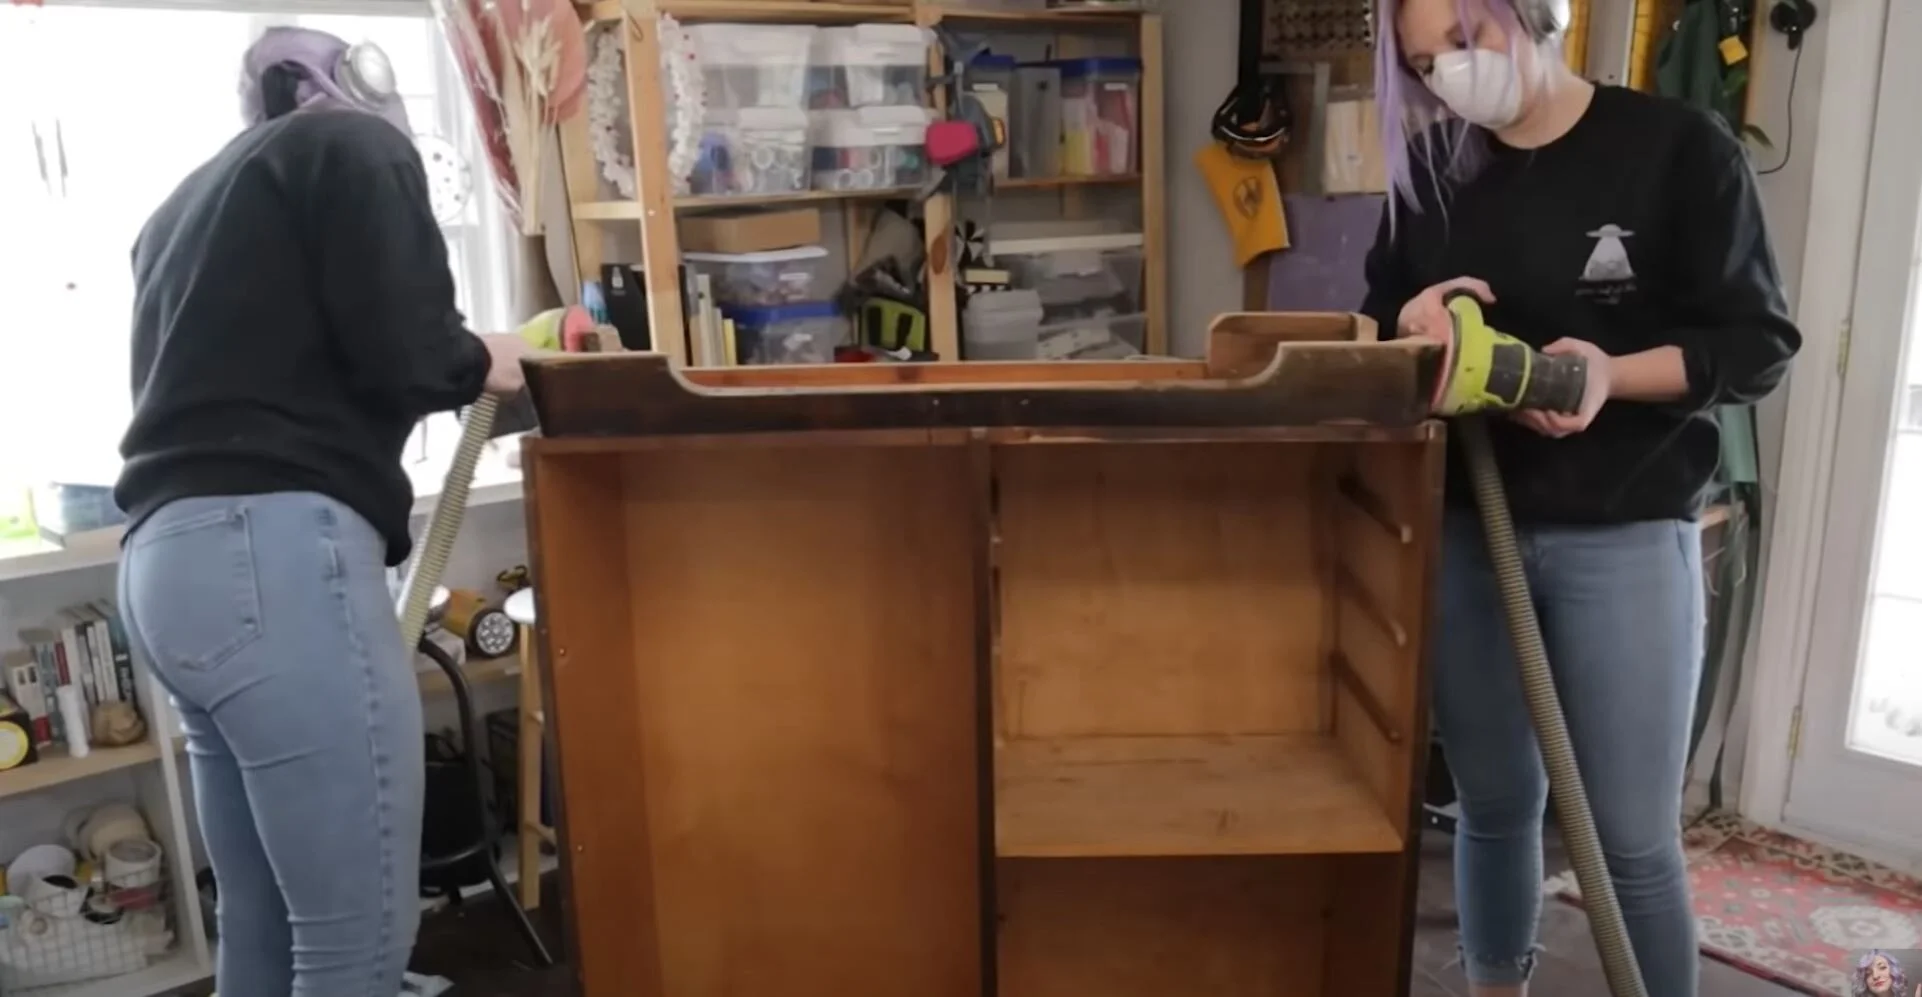
SAND. Sanding is always an important step before painting or staining a piece. You want to make sure to remove pre-existing finish or top coat that may live on the piece.
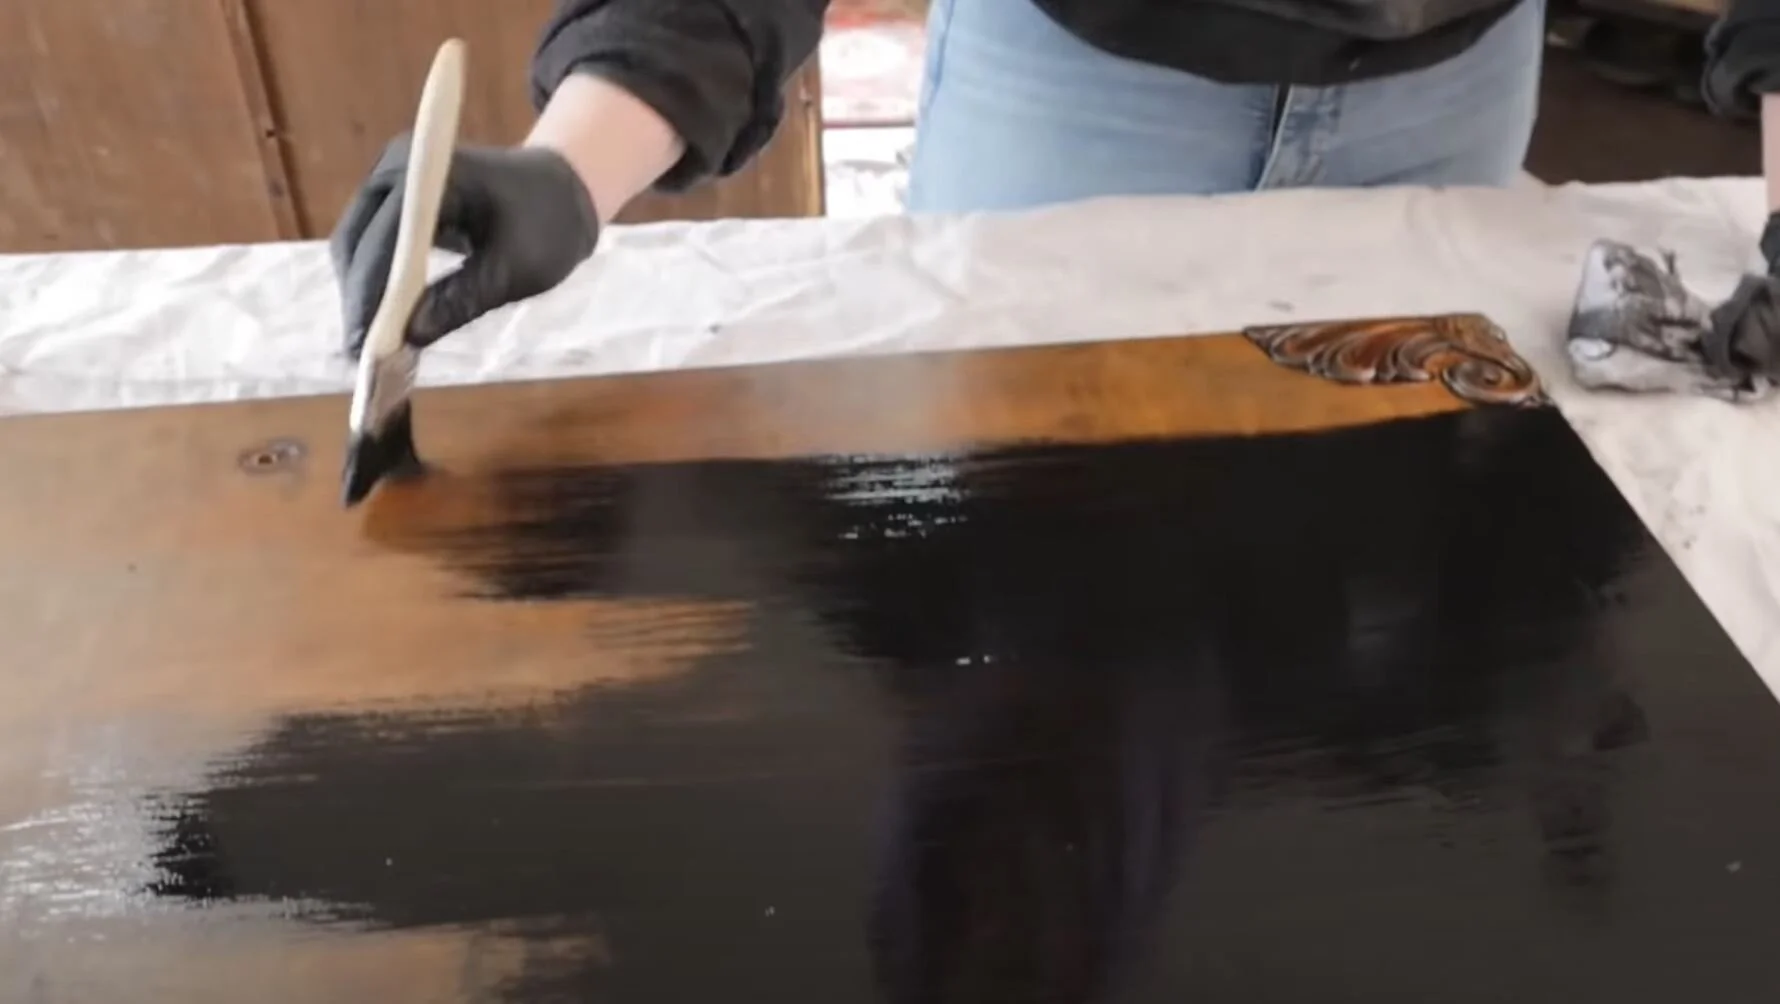
STAIN. I ended up using a black satin Stain and Polyurethane-in-one.There are many techniques with applying stain but I knew I wanted my piece to be dark, so I decided to brush it on thick. This is a great option as it has a polyurethane coat already in it to protect it from scratches and water damage.

ALUMINUM STAR DETAIL. I so desperately wanted to use real brass metal for this but the price of brass was CRAZY! I couldn’t justify the cost I went with a little diy hack technique instead using thin aluminum sheets I sourced from the hardware store. To create my star shapes, I measured the doors and traced my star pattern onto the back using a black sharpie marker. To cut the pattern out, I used metal shears designed for cutting thin metal like this.
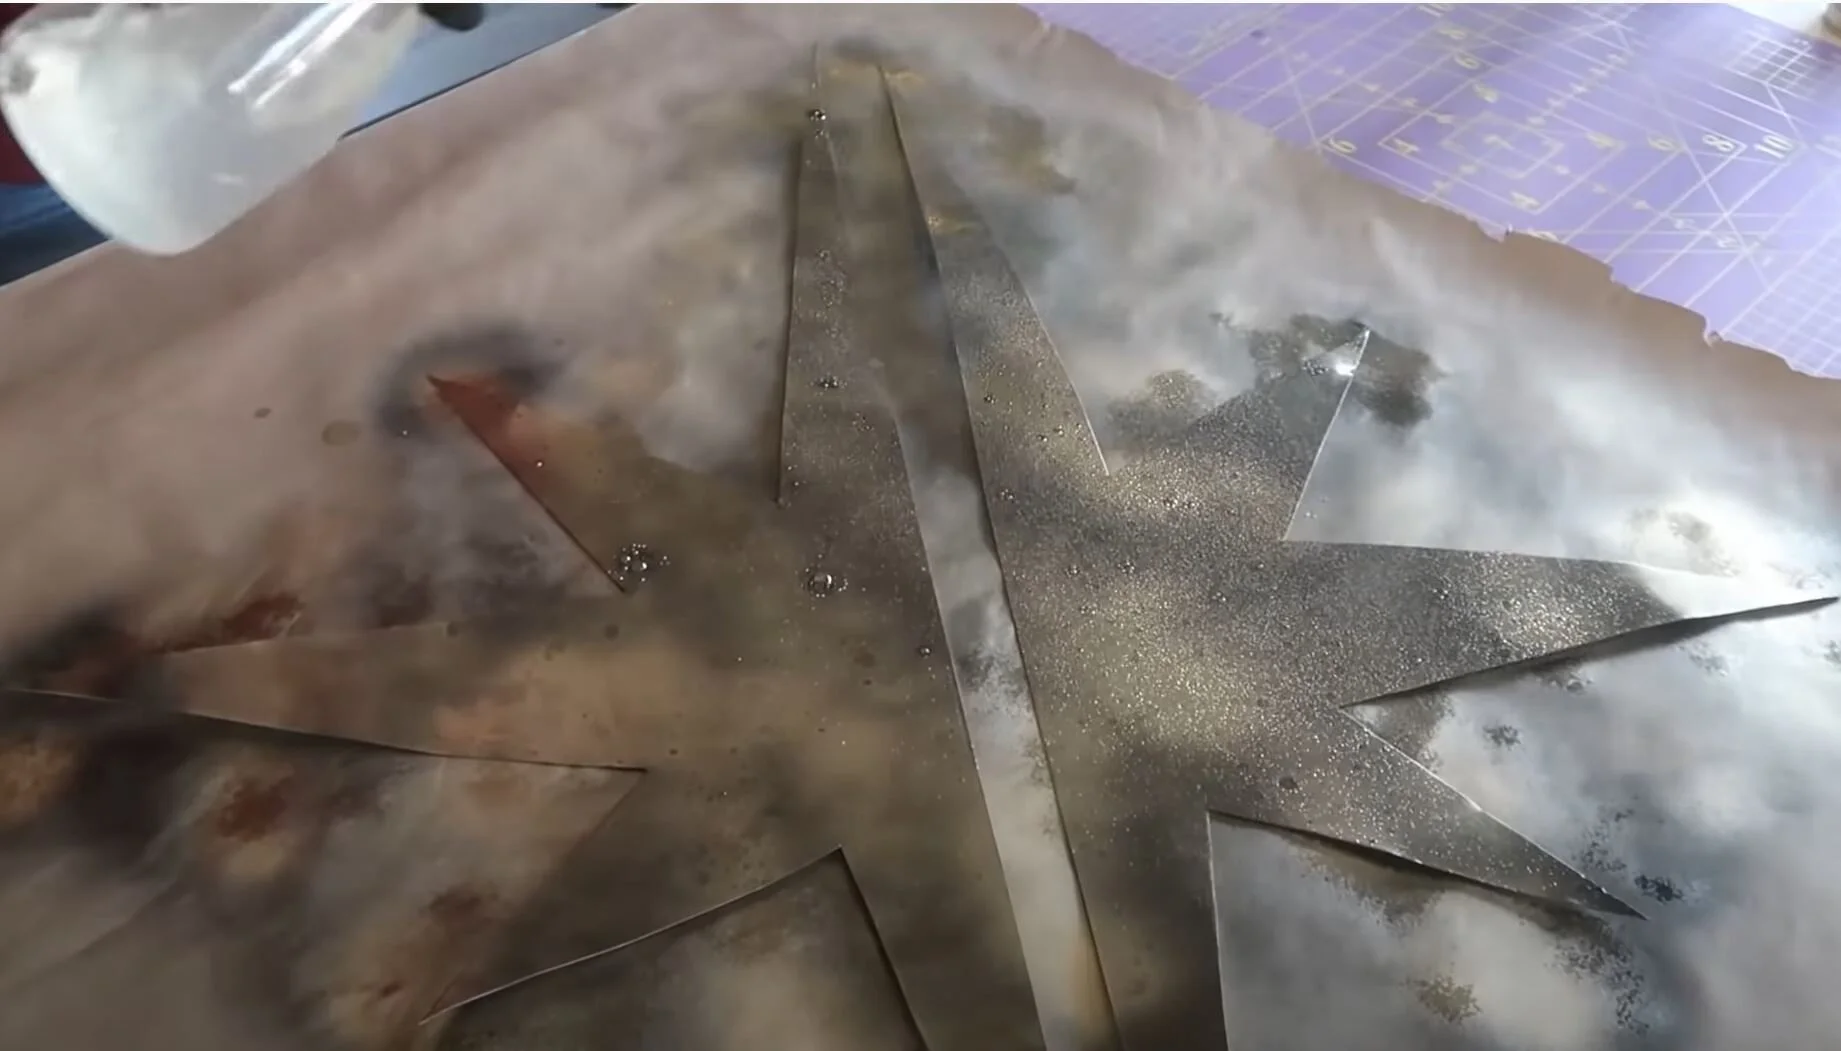
METAL DETAIL. I tested many different brass spray paints on scrap metal pieces but each one made it look like… spray painted metal. Ultimately, I got the best old-age, antiqued look by using the my favourite “faux mercury glass” technique. This technique consists of three ingredients: black spray paint, gold mirror effect spray paint and vinegar. First you apply the black spray paint, then the mirror effect on top. Spritz with the vinegar from a spray bottle and dab the piece with tissue paper or anything with texture. Repeat this as many times as you want to get the desired look you want!

INTERIOR COLOUR POP. Anyone else curious about that “pop of colour” for the inside of the cabinet? Well ladies and gentlemen - I went with Benjamin Moore colour: Chinaberry! SO vibrant and wild.

ADDED NEW HARDWARE. The old hardware in the cabinet was dated and not functional anymore. I added new clasps to both doors and opted for a little personality with these antique drawer labels inside.
Make it stand out
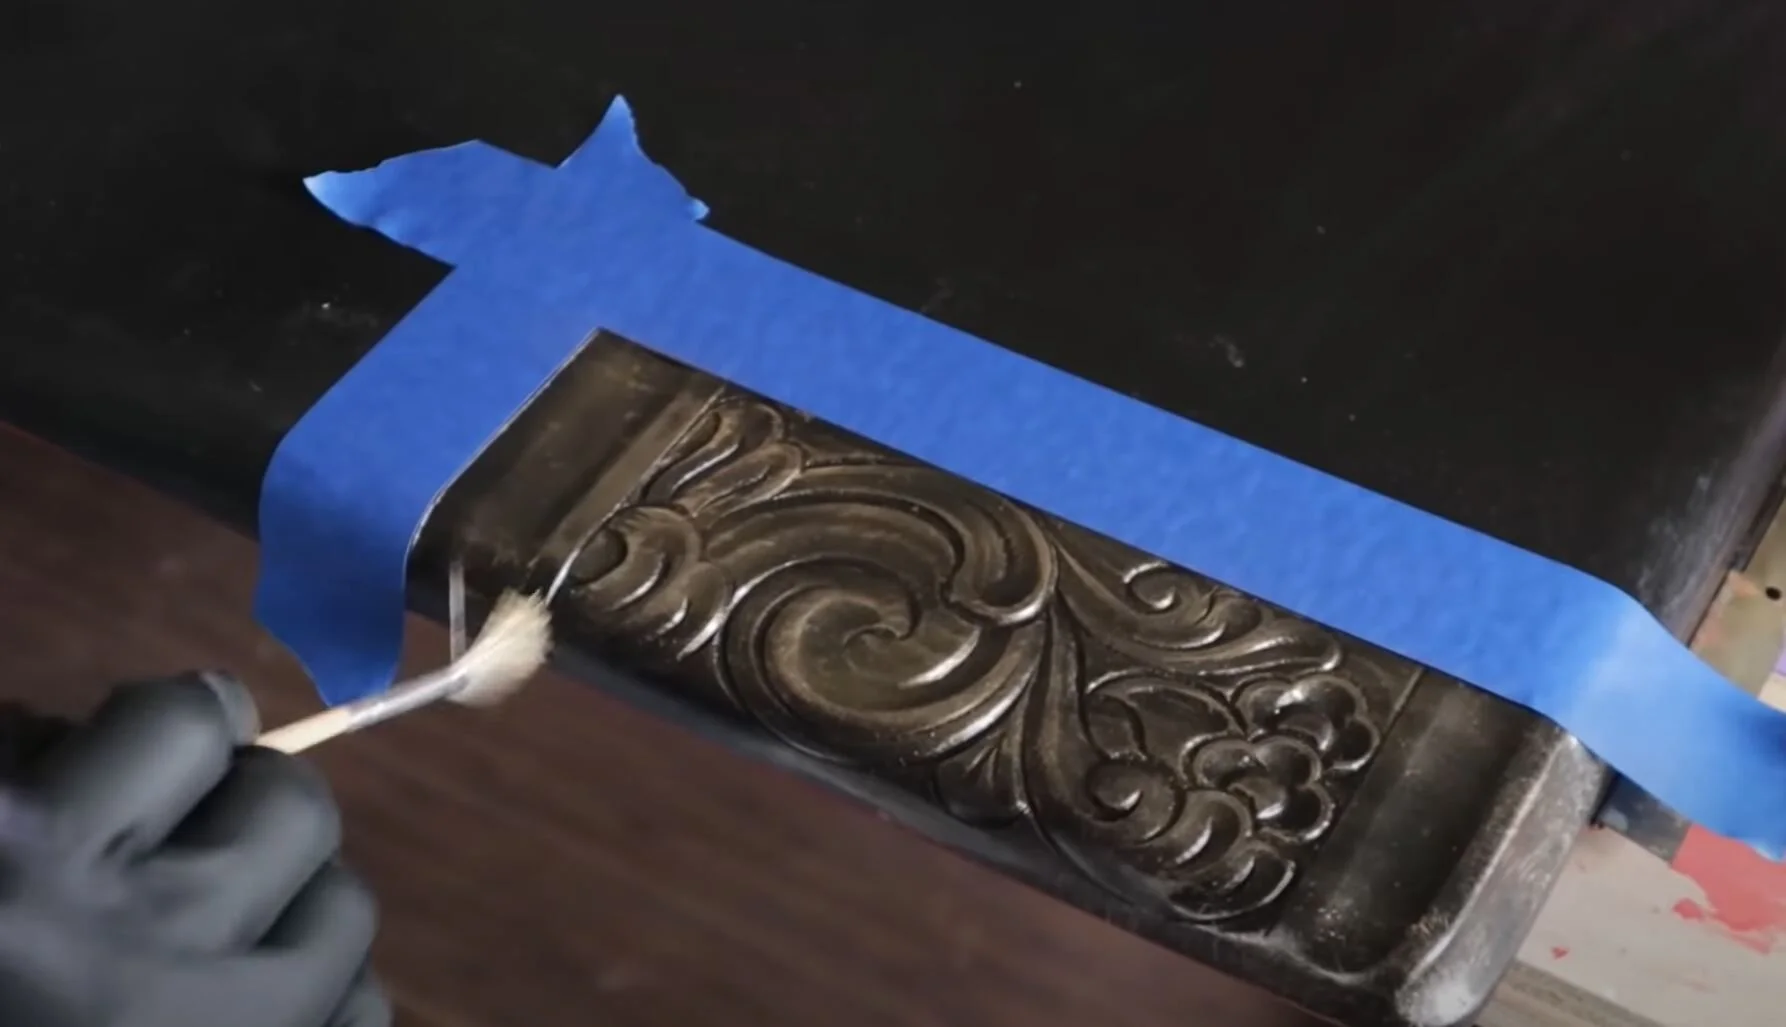
EMBELLISH THE DETAILS. As we know, this cabinet already had some beautiful ornate details worked into the doors. I didn’t want to remove this detail from the cabinet, instead I embellished it by dry brushing gold paint using the gold mirror-effect spray paint, to ensure it matched the star detail on the front.

ATTACH THE METAL FRONTS. I attached my aluminum star fronts onto the doors using strong construction adhesive.
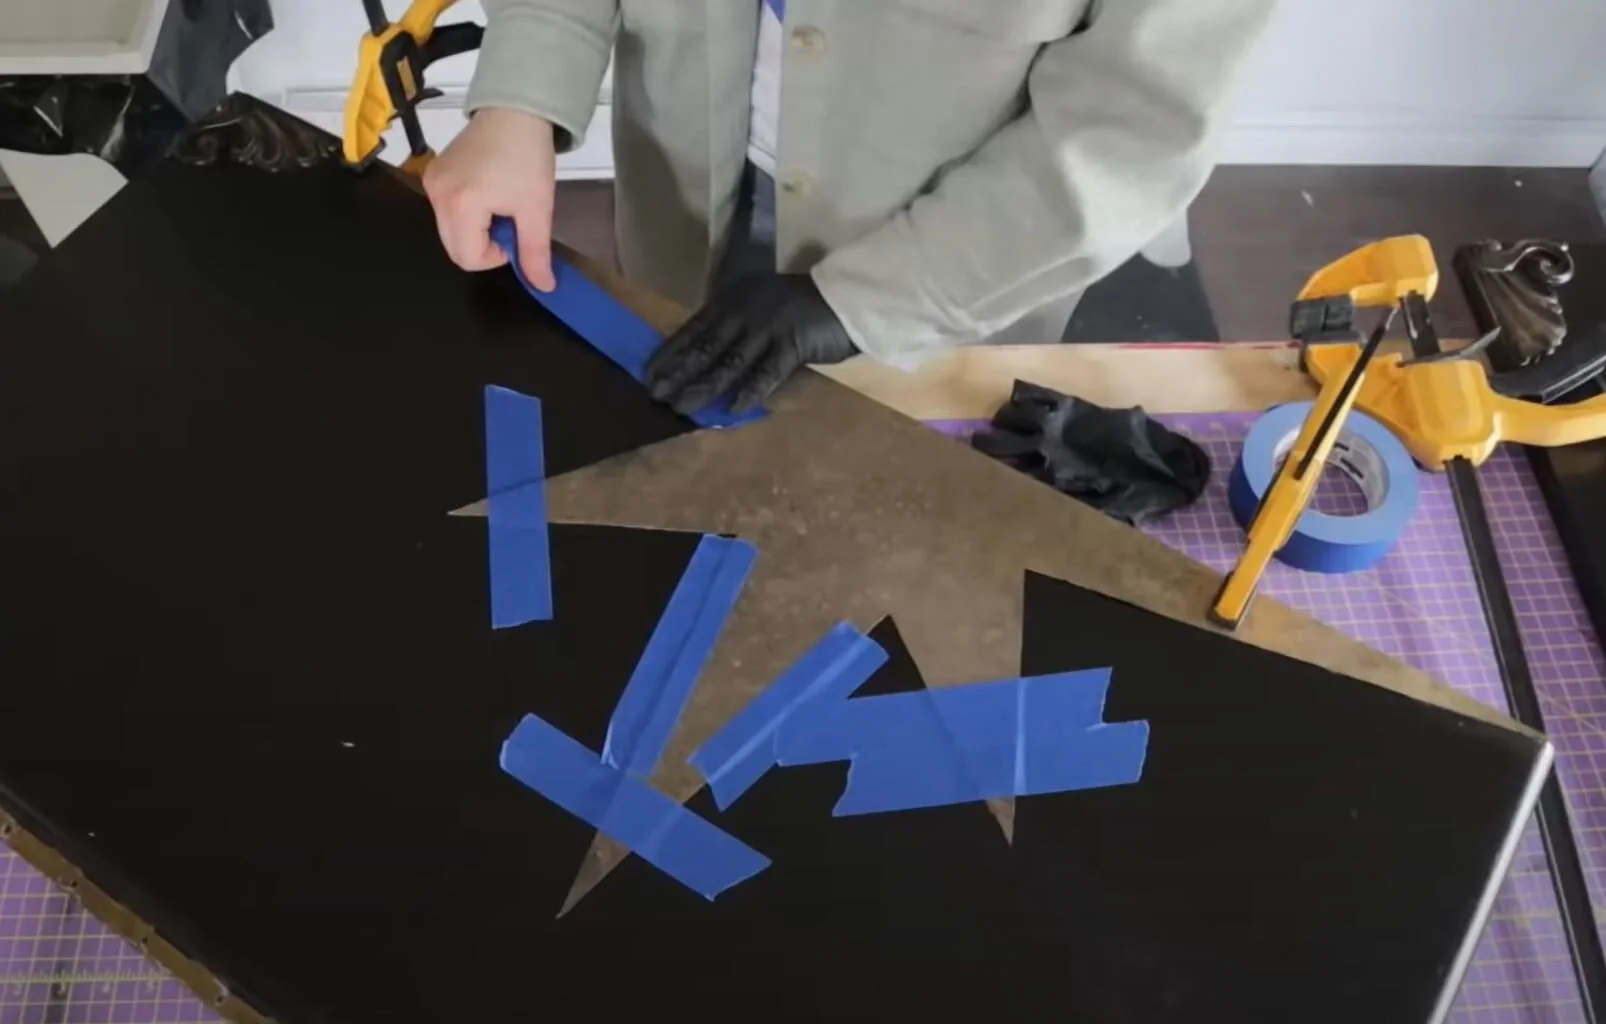
CON’T. This process was a little challenging to make sure all the edges stuck, but it was nothing a few clamps, painters tape and a couple heavy cans of paint couldn’t fix! Some glue did end up pushing out of the sides, but I was able to fix this with a scraper and more top coat stain to fix the edges. If I was to do this again, I would add tape around the edges of the stars before I secure the construction adhesive down. That way, the adhesive would seep out onto the tape and I could easily lift and remove it the next day.

THE MAGIC. To give it that additional sparkle effect on the front, I took the same gold mirror-effect spray paint and spritzed the paint in the direction of each star point starting from the middle. I think this little addition was what gave the cabinet the real magic!
KNOBS. The last step was to add new ornate knobs. To do this, I used a metal drill bit from the back of the cabinet and drilled through the wood + metal to the front. This worked like a charm and avoided any denting in the metal.
FINI!
There you have it folks! My Fantasy Cabinet Thrift Flip for my office! It really does look like it could belong in the world of Harry Potter or Lord of the Rings. I love that so much! <3 It wasn’t the original plan to make it so fantasy-esque but once I added the star, I saw what my nerdy heart was truly attempting to achieve all along!


If you want to watch my journey you check out my video below. I embarrass myself several times as per usual and it’s pretty funny.
And don’t forget to