DIY Farmhouse Inspired Headboard


When it came time to tackle the headboard in my Bedroom Makeover I knew I had to be smart about it. My bedroom had slanted ceilings and my hope was to compliment this feature, not work against it.
I had admired the Mother/Daughter design duo Lynne & Tristan Knowlton for such a long time and it was their treehouse wedding getaway that inspired my headboard design. Thir cabin shown below revealed this beautiful white banister that I simply loved.

Now I know what you’re thinking. “Danie - that’s not a headboard!” But hear me out. I wanted to take this banister design and rework it to fit my wall/bed area! It was so simple and so trendy.
Time to sketch! Taking this banister style, I wanted the half-moon detail to sit higher on my headboard so you would be able to see it above my mattress. I decided to tweak the idea and add an additional half-moon at the bottom of the board and size it so that the headboard length would stretch beyond the bed where our nightstands would be.

Now that we have our idea, let’s execute!

Step 1: Make Your Measurements
I ended up drawing out my design using painters tape just to make sure what I was thinking in my head was going to look good on the wall. Then I took my measurements and rounded to appropriate numbers.

Step 2: Cut Lumber to Length
I used three pieces of lumber
- 1x6 Knotty Pine for the boards
- 1x2 Pine to create my top and bottom rail
- a piece of Pine Ply Cap to add detailing to the top rail


Step 3: Measure your Half-Moon placements
Once I cut the length of all my boards it was time to measure where the half-moons would go. I laid out all my lumber and started measuring. I measured down 5” and 26”.

Step 4: Cut your Half-Moons
To make sure my half-moons were lined up I clamped 2 boards together and used my hole saw to cut out a circle (two half moons on each). I just used the middle of the boards as my centre guide along with my measurements from Step 3. Sand Smooth.
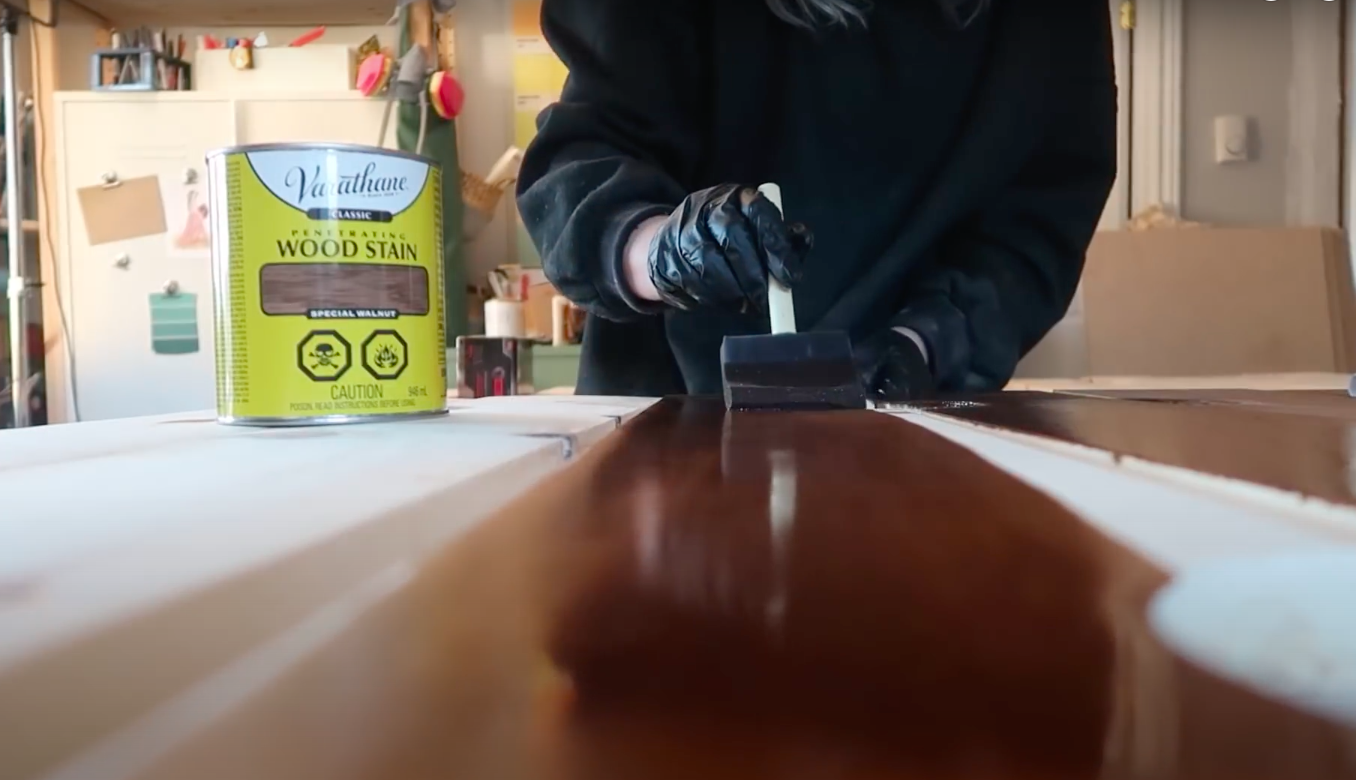
Step 5: Stain your Wood
Obviously I had to use my favourite “Special Walnut” stain by varathane!
I highly recommend you pre-treat your wood with a wood conditioner, it will help the colour of the stain take to the wood nicer and reduce any blotchy areas.
Don’t forget to also add a finish to the wood to seal it.

Step 6: Stop and Smell the Roses
Or just enjoy a nice cup-o-joe.
Treat yo’self!

Step 7: Assemble
My walls are a bit wonky, so I secured the headboard onto the wall one piece at a time. A few adjustments were made along the way.

Make sure to use a level when you attach your first board to make sure you’re starting off straight

And then do yourself a favour and cut out 2 jigs for your spacing between boards.

Full disclosure - My walls were really slanted which made my measurements very difficult to predict! My math failed me a bit and one board ended up being a tad wonky in the middle, but I left it because it was going to be hidden by my bed anyways. I always like to reveal my mistakes because they happen all the time and it’s what makes me human!
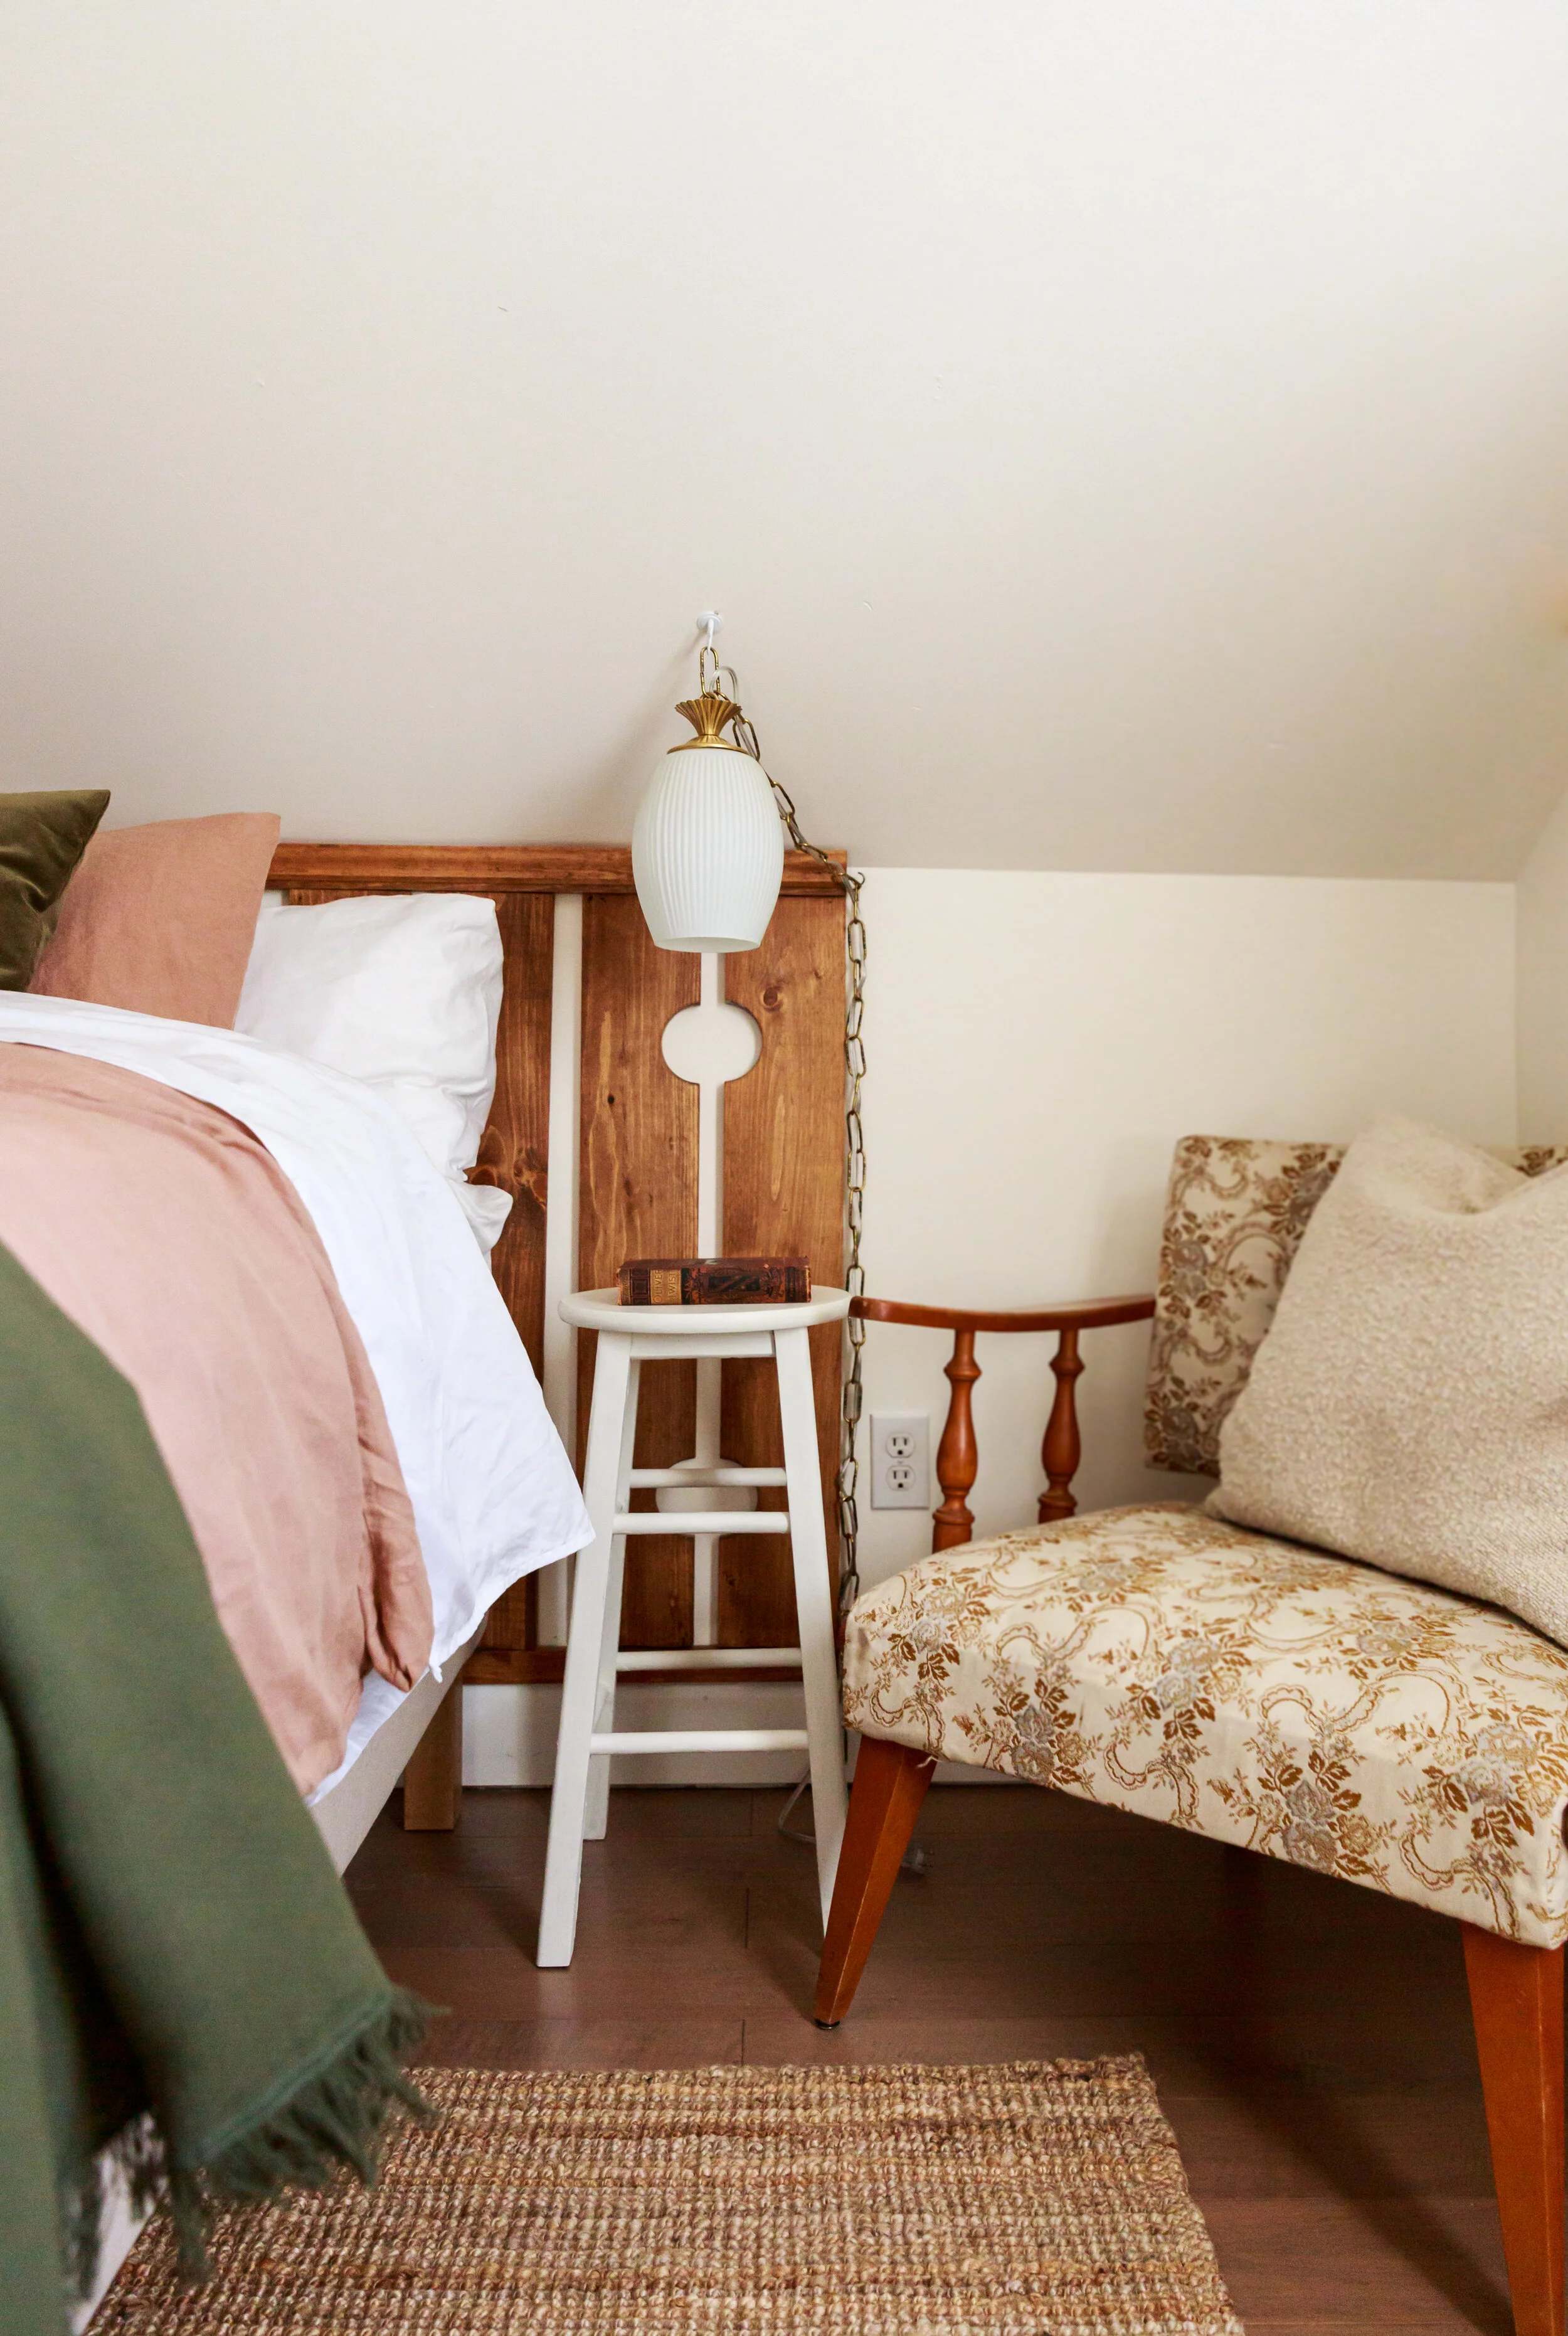
Photo Cred: Joanne Schwindt
To watch my journey check out the video below around 11:15. You might want to stick around for the big reveal at end because it was stunning!
Oh and don’t forget to SUBSCRIBE!
